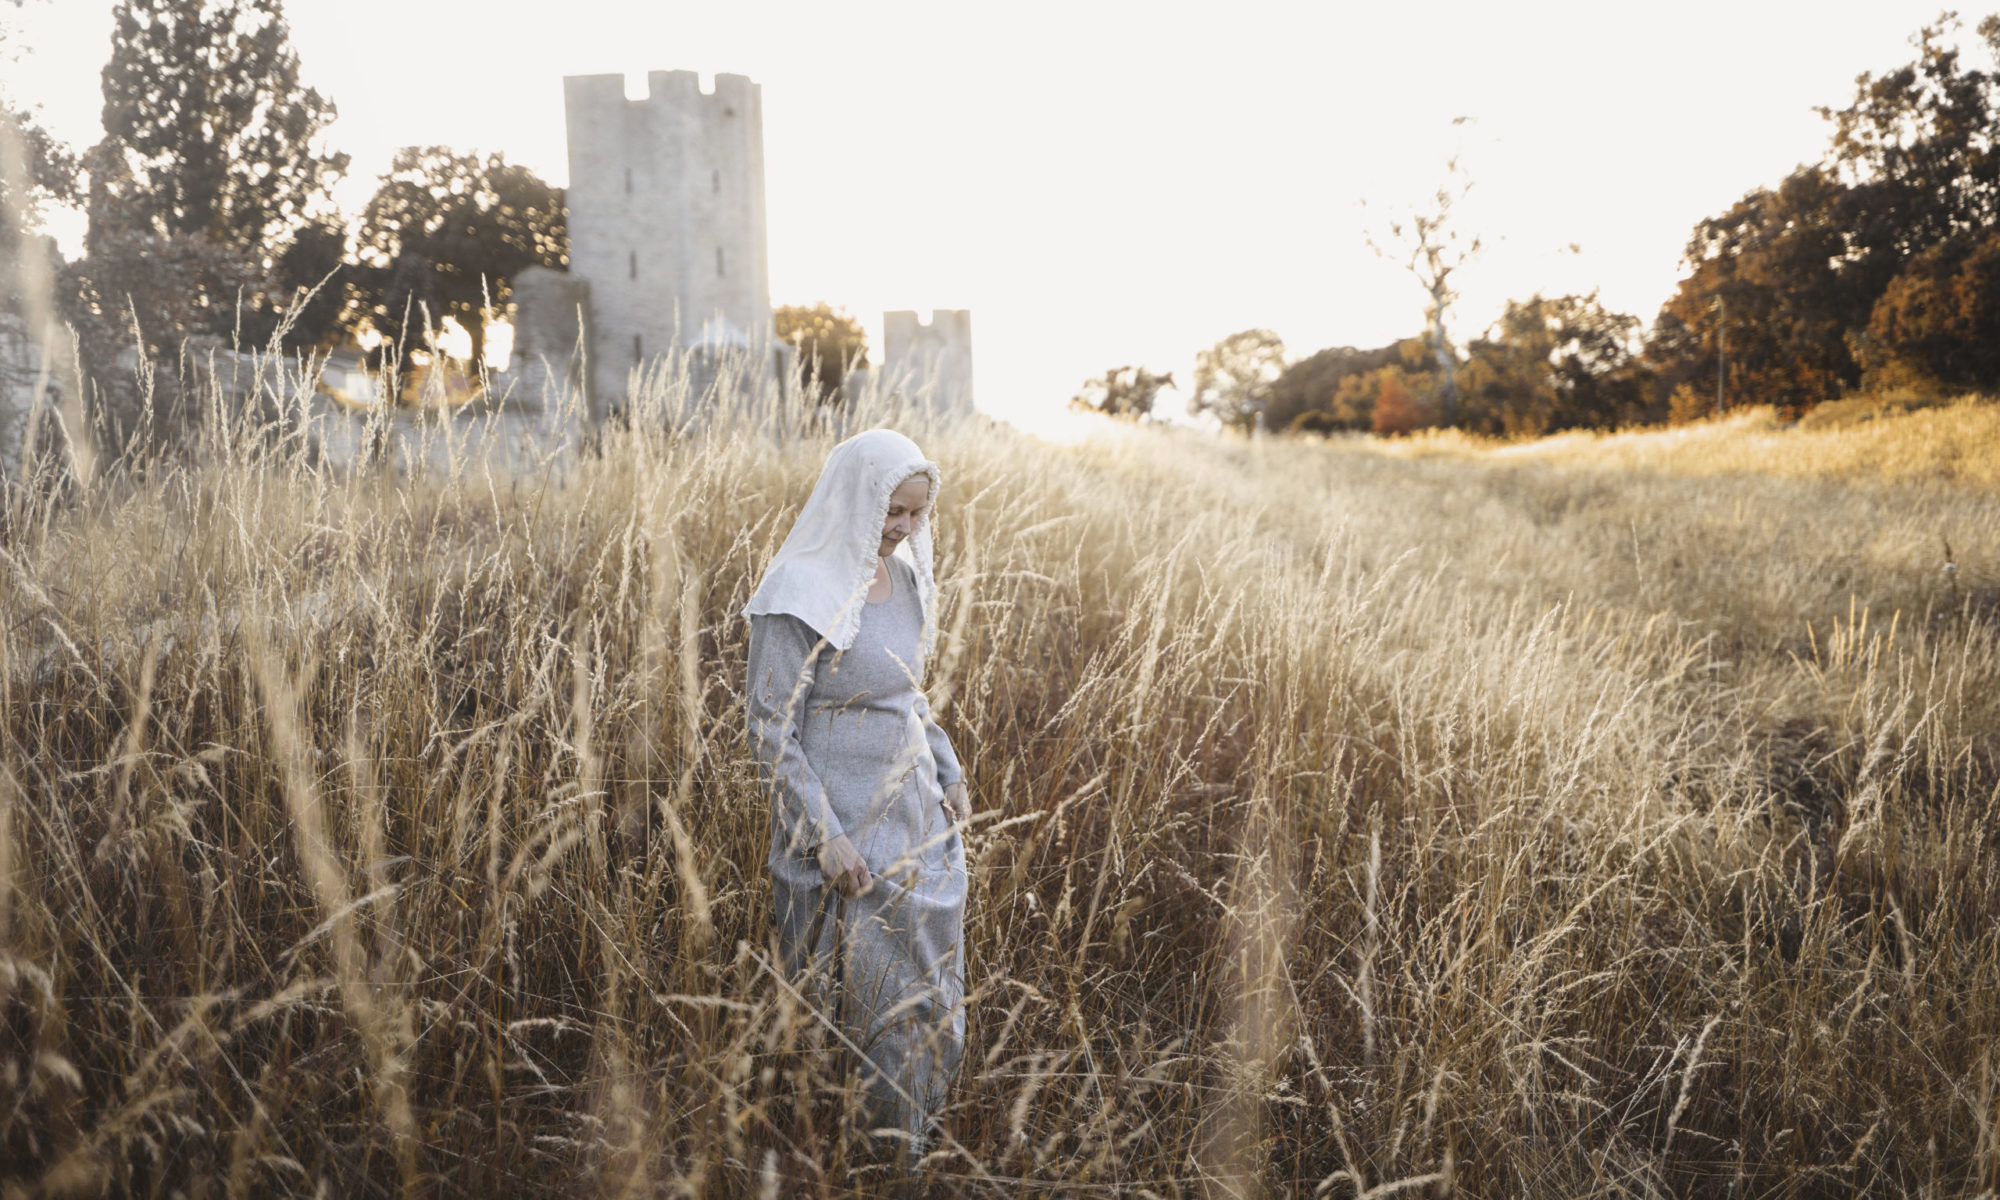

After you have basted your kirtle and tried it on, and corrected if you done something wrong (to big, to small) it is time to sew it together permanently.
I like to sew with backstitches because I don’t get the same flow when I try to use small running stitches. Or you can try combining the two with one backstitch and 2-3 runningstitches. But if you are more comfortable with another stitch, you can use that instead.
But I do recommend that you use backstitches everywhere where is going to be a lot of tention on the seams or wear & tear.
The side, front and back gussets I usually sew from the right side, wich I will show in a later post.
The side gussets you can sew as you do with every other seams if you want, I just like how flat they get with the technique that I use for sewing in gussets were there are no seam to begin with 
One thing to think about when you start to sew your kirtle together is that if you sew just outside the bastingline, you will end upp with a little wider kirtle, and if you sew on the inside of the basting it will be a bit tighter.
As this kirtle was a bit on the smaller side I will try to sew about 2 mm outside the basting, and since I now have 4 side-seams (two on each side after my meassuring misstake) it will make the kirtle about 1,6 cm wider.
How? Just 2mm? that can’t do much?
Well 2 mm outside the basting = 4 mm wider. And 4 seams is 4×4=16mm
If I hadn’t meassured wrong from the start and only have had 2 seams, then it would have been 8 mm wider if I sew 2 mm outside the basting.
What do I want to say with this then?
Well… If you think after basting, that your kirtle is just on the edge of snug or on the edge of to wide, you can fix it when you sew it permanently just by deciding wich side of the basting you put your permanent seam on.
* * * * * * * * * * * * * * * * * * * * * *
När du har tråcklat ihop och provat kjorteln och korrigerat om den var för liten eller för stor så är det dags att sy ihop den permanent.
Jag gillar att sy med efterstygn eftersom jag får en bättre rytm i sömnaden då. Men det är viktigast att använda efterstygn där det är störst påfrestning. I sömmar som inte kommer utsättas för så mycket tyngd eller slitningar så kan man använda förstygn också, eller en blandning av ett efterstygn och 2-3 förstygn (rackarsöm är en benämning som brukar användas för detta). Kilarna föredrar jag dock att sy från rätan eftersom jag får en söm som blir plattare på så sätt. Men kilar som sitter i en söm kan man även sy från avigan precis som med axelsömmar, ärmsömmar osv.
Jag kommer att visa i ett senare inlägg hur jag syr kilarna från rätsidan.
Något som kan vara bra att tänka på är att om du syr utanför tråckelstygnen så kommer plagget bli lite större, och om du syr innanför så kommer det bli lite mindre än när du provade.
Exempelvis så kommer jag att sy ca 2mm utanför nu när jag syr ihop makens kjortel för att det tjänar jag ca 1,6 cm i vidd på i slutänden.
Och hur kan jag göra det?
Jo, eftersom jag har 4 sidosömmar pga skarvningen så ger varje söm där jag syr 2 mm utanför tråckellinjen hela 4 mm i ökad vidd. Så 4 x 4 = 16 (4 sömmar x 4 mm = 16 mm).
Om jag nu inte hade mätt fel från början och alltså bara haft 2 sidosömmar så hade jag bara ökat 8 mm.
Så vad vill jag säga med detta?
Jo om kjorteln var bara på gränsen till tight när du provar den, så kan det hjälpa att bara sy ett par mm utanför tråckelsömmen och tvärt om ifall den var på gränsen till stor.
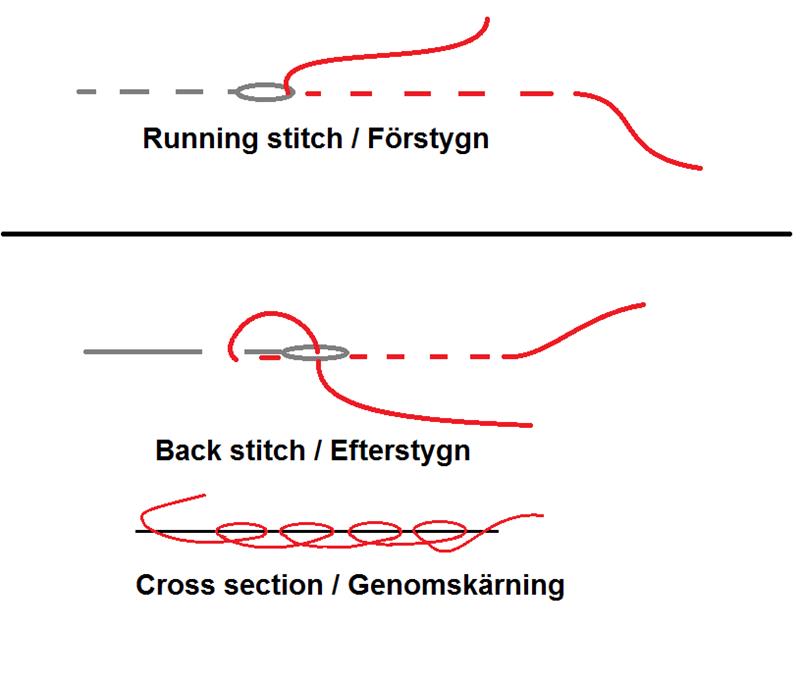
A running stitch always moves forward. It is up and down through the fabric, but always forward.
The back stitch on the other hand always goes back half a stitch. You put your needle trough the fabric half a stitch behind where it just came trough the fabric. Then take a stitch so you end up one length of a stitch in front of the stitch you just made.
* * * * * * * * * * * * * * * * * * * * * *
Förstygn är alltid på väg framåt. Nålen går upp och ner genom tyget men alltid i riktning framåt.
Efterstygnen å andra sidan backar alltid ett halvt stygn. Man sätter ner nålen ett halvt stygn bakom där nålen kom upp genom tyget och sen tar ett stygn så du hamnar en stygnlängd framför det stygn du just gjorde.