

Yesterday I remembered that I havent done any sew-alongs or tutorials for quite some time now. And the reason for creating this blog where to share how to make stuff.
So…
I hope that you will like this one.
From project start to blogpost finished where about 24 hours.
So I guess that you can make this purse in a weekend even without leatherexperience.
* * * * * * * * * * * * * * * * * * * *
I går kom jag på att jag inte har gjort mågra sew-alongs eller instruktionsinlägg på länge och anledningen till att jag startade bloggen var ju för att hjälpa människor att göra sina egna saker.
Så…
Hoppas du gillar denna sew-along.
Från att jag började projektet till att jag postade denna blogpost så har det tagit ungefär 24 h och jag har inte sytt konstant 
Jag antar att du kan genomföra det här projektet på en helg om du inte är så van att sy i läder.
* * * * * * * * * * * * * * * * * * * *
First – start with looking at the PDF-file Purses in Pieces that you can find just by googling it. If you like it – buy it. I really enjoy it 
When you have read it – you will understand this instrucktion better. And something I will not get in to, but just refer to that PDF.
* * * * * * * * * * * * * * * * * * * *
Börja med att googla efter Purses in Pieces och läs PDF:en. Om du gillar den så köp den. Jag tycker att det är värt det.
När du har läst den så kommer du förstå instruktionerna här mycket bättre, och vissa saker kommer jag bara referera till PDF:en för.
* * * * * * * * * * * * * * * * * * * *
* * * * * * * * * * * * * * * * * * * *
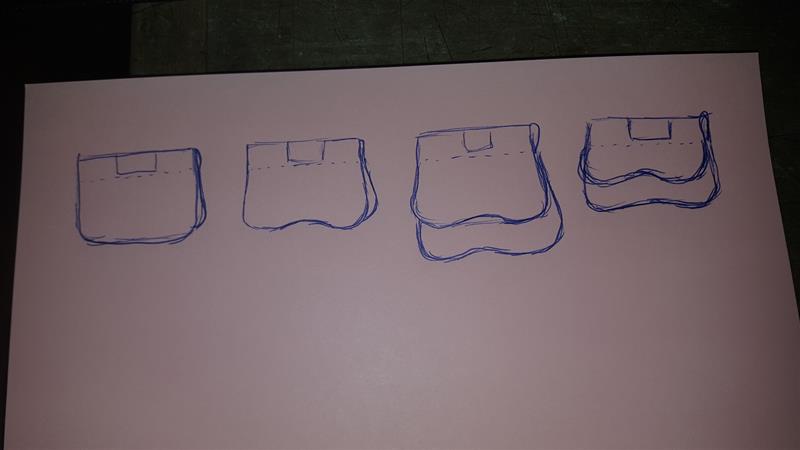
I start by drawing some examples of how I want the purse to look.
* * * * * * * * * * * * * * * * * * * *
Jag börjar med att rita upp lite exempel på hur jag vill att väskan ska se ut.
Then I put two A4 papers with the short ends together and tape it together.
* * * * * * * * * * * * * * * * * * * *
Jag tejpar ihop två A4-papper med kortsidorna mot varandra.
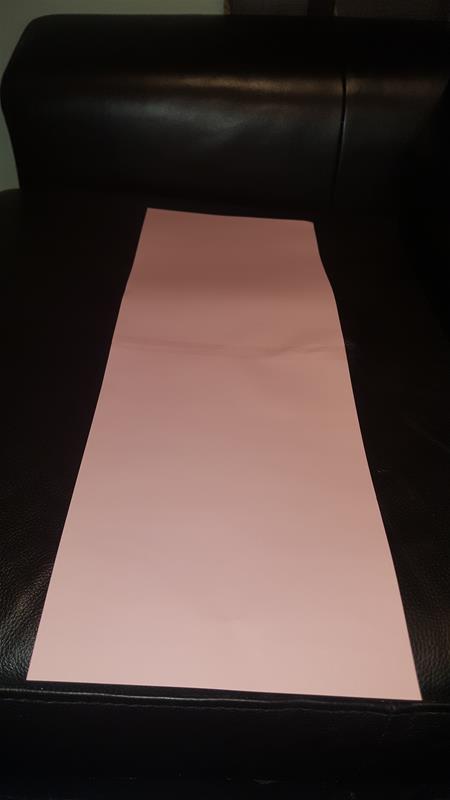
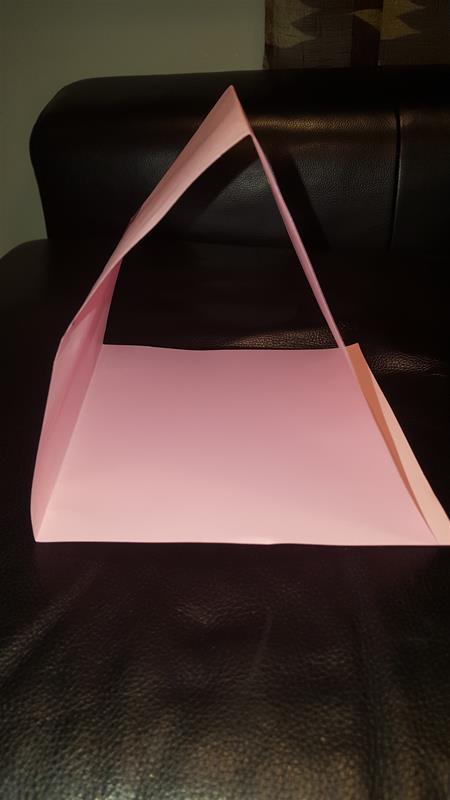
To get the size of the bag I usually fold the long sheet of paper in three.
And then I take one bit of.
* * * * * * * * * * * * * * * * * * * *
För att få rätt storlek på väskan så brukar jag vika det långa ihoptejpade pappret så det blir 3 delar.
Och sen tar jag bort en del.
This time I wanted it a tad bit bigger than the with of the paper so I put a litle bit on at the bottom sides..
* * * * * * * * * * * * * * * * * * * *
Den här gången kände jag att jag ville ha väskan en aningen bredare så jag skarvade på lite på sidorna.

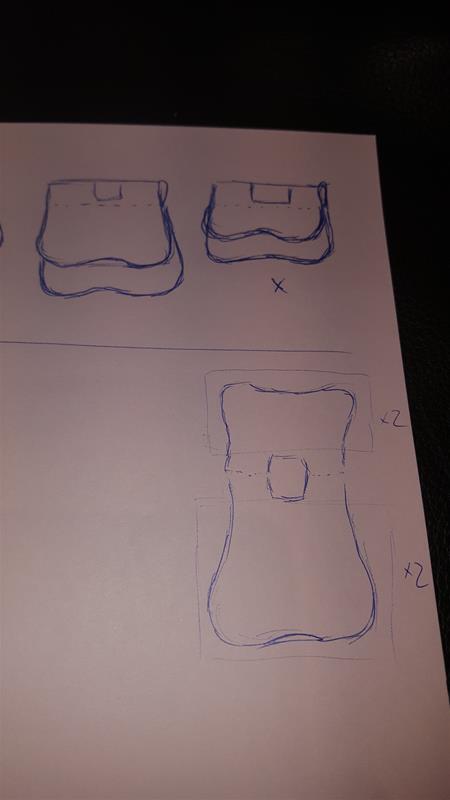
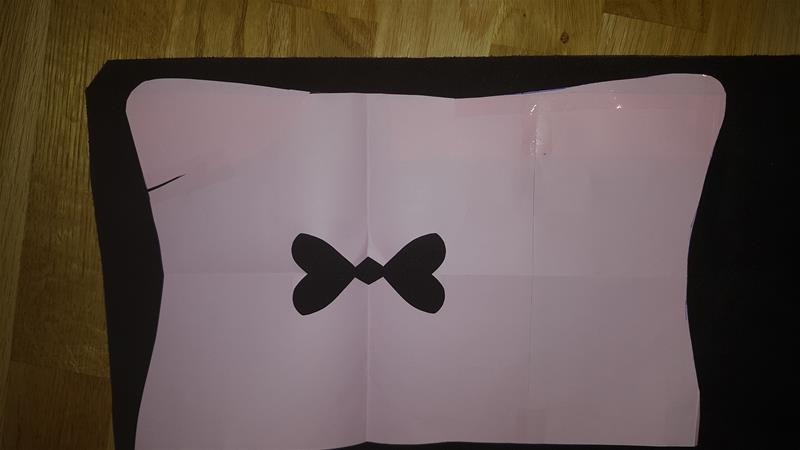
Just to connect back to the beginning. This is the bag I chose and this is how i cut the folded paper. A shorter lid and a longer bottom – but the same shape.
* * * * * * * * * * * * * * * * * * * *
Bara för att återkoppla. Det här är väskan jag valde och det här är hur jag klippte till det vikta pappret. Ett kortare lock och längre bottendel – men samma form.
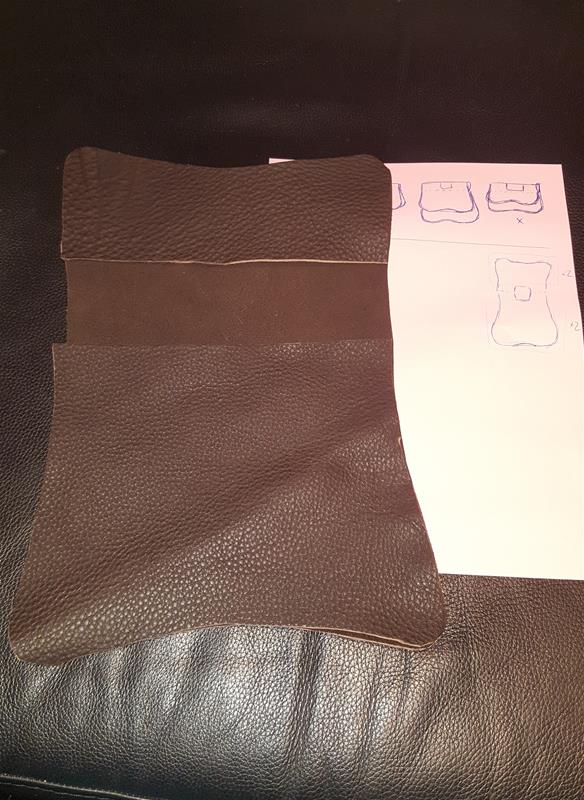
This is how I lay the mane part out on the leather. Here I also experimented with the shape of the hole between the straps. But I don’t have to cut it until the bag is finished so I have time to change my mind a lot of times.
Some good examples on different shapes is found in the PDF i refered to in the beginning.
* * * * * * * * * * * * * * * * * * * *
Så här lägger jag ut huvuddelen på lädret. Här hade jag också experimenterat med formen på hålet mellan hällorna på väskan. Men det behöver jag inte klippa till förrän väskan är ihopsydd så jag har tid att ändra mig flera gånger än.
Fler bra exempel på former finns i PDF:en som jag hänvisade till i början.
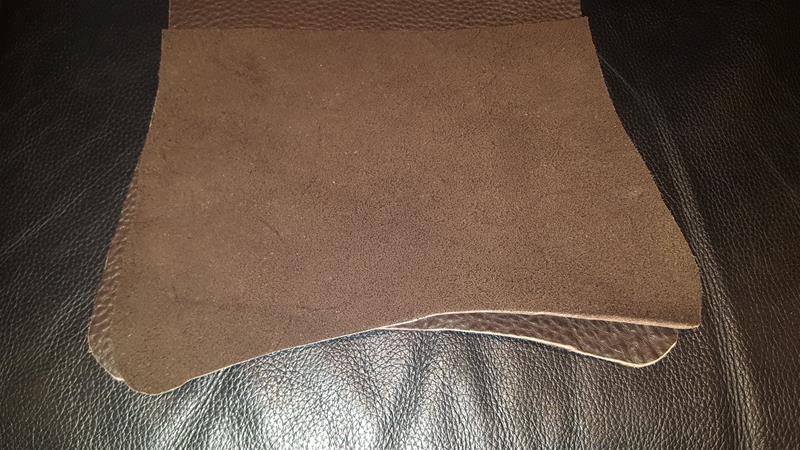
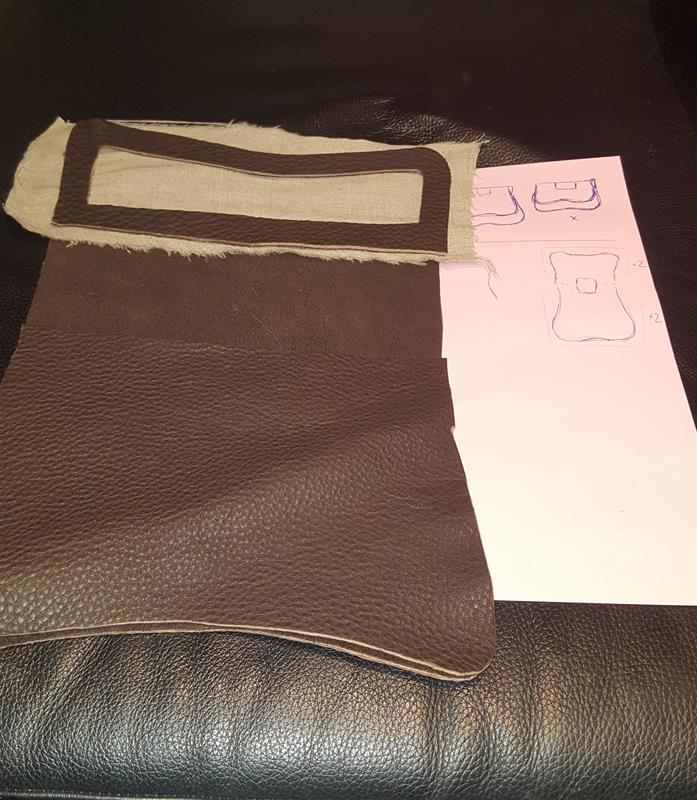
The three parts that you need for the purse.
* * * * * * * * * * * * * * * * * * * *
Dom tre delarna som behövs för väskan.
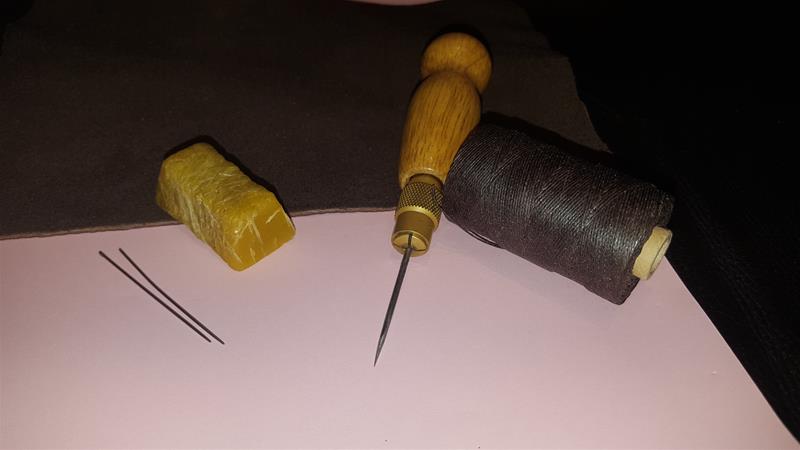
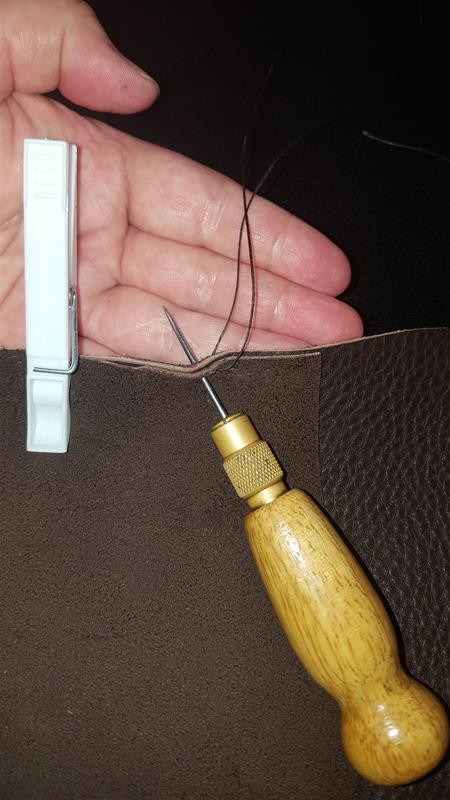
You will need two needles. But not cutting ones, blunt points. Beeswax, an awl and thread. This is pre-waxed linnen thread.
* * * * * * * * * * * * * * * * * * * *
Du behöver två nålar. Men inte skärande, dom ska vara runda. Bivax, syl och tråd. Denna tråd är förvaxad linnetråd.
Put the pieces face to face (or right sides together as you say with fabric).
* * * * * * * * * * * * * * * * * * * *
Lägg delarna med lädersidan mot varandra och köttsidan ut. (Eller rätsida mot rätsida som man skulle säga med tyg)
I usually pin the parts together with clothespins, but if you have better (smaller and tighter grip) use them.
Thread both needles on the same thread an make a hole trough both pieces with the awl.
* * * * * * * * * * * * * * * * * * * *
Jag brukar hålla ihop delarna med klädnypor men om du har bättre (mindre och hårdare grepp) så använd dom.
Trä båda nålarna på samma tråd och gör ett hål genom båda läderbitarna med sylen.
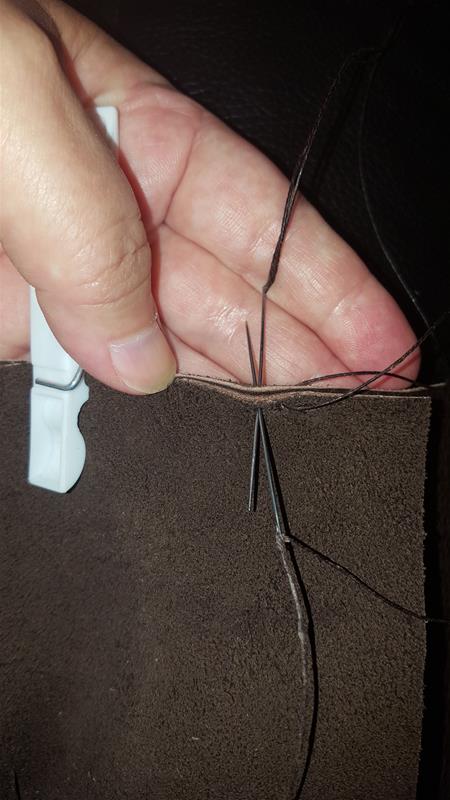
Pass one needle trough the hole, match it up so you have the same amount of thread on both sides.
Make another hole with the awl and put both needles trough the hole, one from each side. Do not cross over the side of the leather. It should resemble a straight machine stitch after a couple of stitches.
Pull troug – repeat.
If you need to take another piece of thread after a while, just stop sewing. Thread the needles again but start about 2-3 stitches back from where you ended, using the old wholes.
* * * * * * * * * * * * * * * * * * * *
För en nål genom hålet, se till att du har lika mycket tråd på båda sidor.
Syla upp ett nytt hål och stick igenom båda nålarna. En från varje håll. Korsa inte kanten på lädret med tråden. Det ska se ut som en raksöm på maskin när du har kommit en bit.
Dra igenom trådarna – upprepa.
Om du behöver ta ny tråd så sluta bara sy. Trä en ny bit tråd men börja 2-3 stygn från där du slutade och använd dom redan sylade hålen.
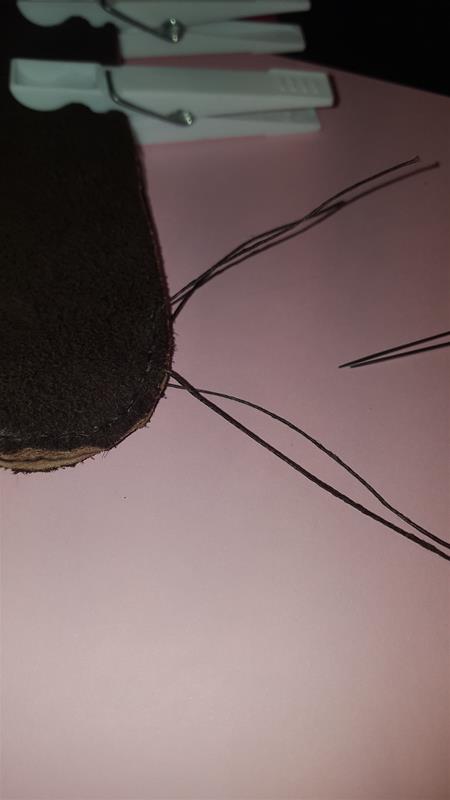
Turn the bag.
* * * * * * * * * * * * * * * * * * * *
Vänd väskan.

* * * * * * * * * * * * * * * * * * * *
* * * * * * * * * * * * * * * * * * * *
* * * * * * * * * * * * * * * * * * * *
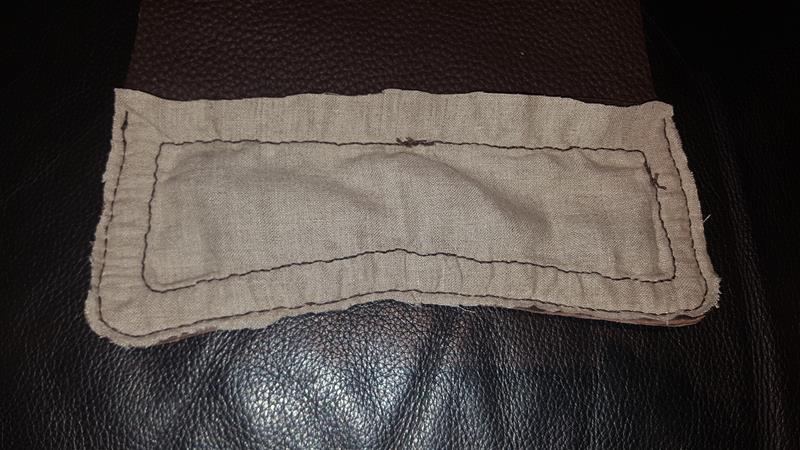
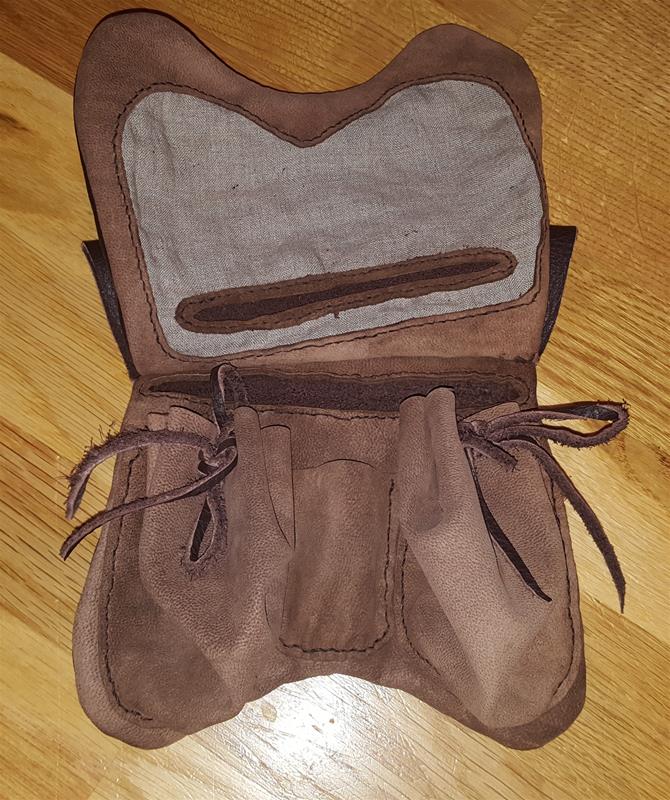
This is a bit more advanced, but if you want you can do this on the lid (look at the PDF).
I cut the center out of the innerpart for the lid and replace with linnen.
Just put linnen all over the inside of the part. Stitch it on around the cut-out with the same kind of stitch you use to sew the bag together with.
Let the linnen hang over the sides for now.
* * * * * * * * * * * * * * * * * * * *
Det här är överkurs, men om du vill så kan du göra så här med locket (kolla PDF:en)
Jag har klippt ut mittdelen på lockets insida och ersatt med linne.
Lägg helt enkelt linnet över hela den delen, sy runt den utklippta delen med samma stygn som du använder för att sy ihop väskan med.
Låt linnet hänga över sidorna än så länge.
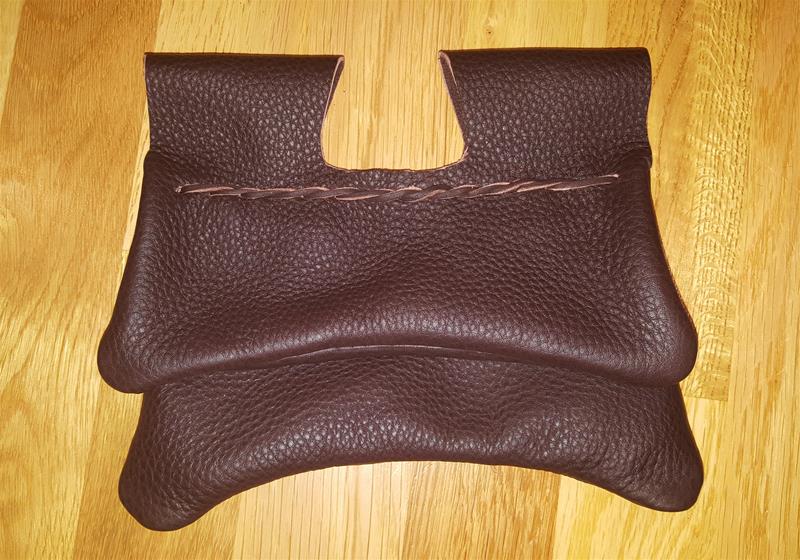
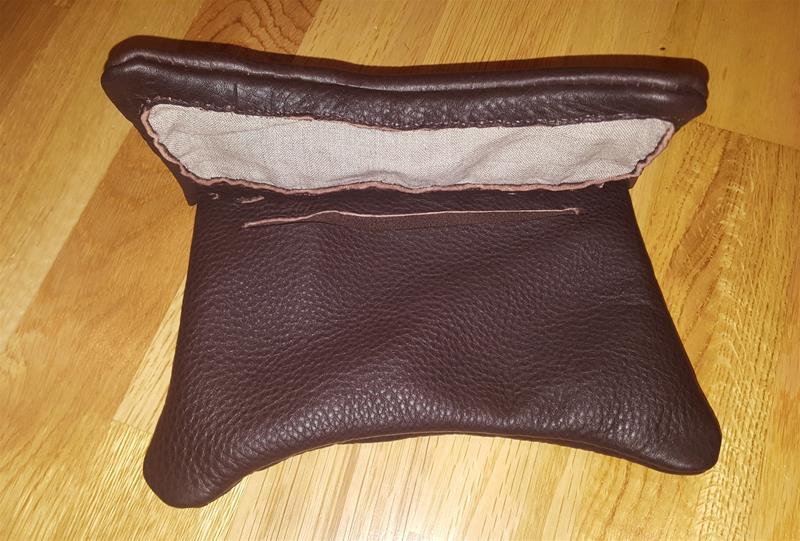
After turning the purse you are going to latch the pouch together.
The historically correct thing to do is by making slits all the way trough the four layers that we have in this purse and then take a leather strap and join the layers together as they show in the PDF.
As they have so good pictures I descide to not try to show it as I usually cheat and just stitch it together
This time I tried to make it right though…
* * * * * * * * * * * * * * * * * * * *
Efter att du har vänt väskan så ska du fästa ihop alla delar och skapa själva väskformen.
Det historiskt korrekta sättet att göra detta på är att använda en laskrem. Dom visar väldigt bra i PDF:en hur man gör så jag kommer inte visa det eftersom jag oftast brukar fuska och bara sy ihop delarna med nål och tråd
Den här gången försökte jag göra det korrekt dock…
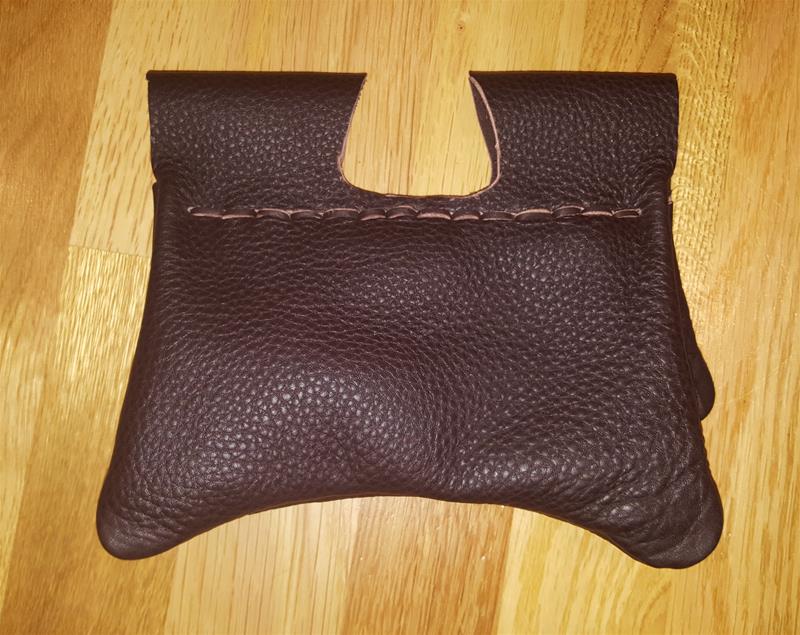
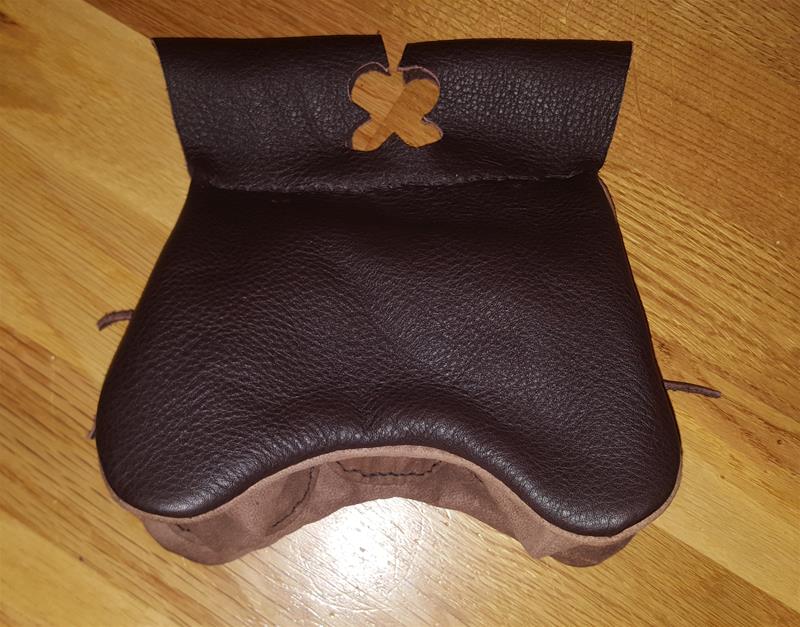
Make a slit after lacing/ stitching the bag together, so you can put stuff in your bag.
I probably will make a slit at the inside of the lid as well so you can put something small there, but I will wait and se what the person that will get this purse wants
* * * * * * * * * * * * * * * * * * * *
Gör en smal öppning efter att ha laskat / sytt ihop väskan så att du kan använda den.
Jag kommer troligtvis göra en öppning i locket också på insidan, så att den som får väskan kan stoppa saker där med, men jag ska först höra hur denne vill göra
* * * * * * * * * * * * * * * * * * * *
* * * * * * * * * * * * * * * * * * * *
An older yet more advanced purse, style 2 from the left of my first drawing.
Just as inspiration
* * * * * * * * * * * * * * * * * * * *
En äldre men mer avancerad väska, 2 bilden från vänster på min första teckning.
Bara för inspiration.
************************************************************************************
My friend Sofia made a similar purse. You can read about it here
Ett svar på ”A kidneyshaped purse / En njurformad väska”