

Haven’t we all been there?
You take out your favourite cotehardie and… It is to small. How? Why? You haven’t noticed anything on your regular clothes, or only that your jeans is a bit tighter…
So, how could you fix this?
Well… you can try to make it bigger, either by undoing the seams and redo them, if you have enough seamallowance. Just a smidge more fabric in every seam can go far.
But when you have extended the sides in the seams as much as possible and it still isn’t enough, well you can take a pice of the same fabric an add to the item if you have anything left of it.
Or – you can use your item and make a pattern of it.
This you can do in 2 ways.
Undo the seams and use the item itself as a pattern.
Or, as I prefer. Use a nonwoven pattern-paper and draw a new pattern based of the clothingitem.
This is how I did it for a friend that realized that she was in great need for a new dress.
* * * * * * * * * * * * * * * * * * * * * * * * * * * * * * * * * * * *
Det har väl hänt alla?
Man plockar ut sin favoritcothardie och… den har krympt. Eller? Du har inte märkt något direkt på dina vanliga kläder, eller möjligtvis sitter jeansen lite tightare men så illa kan det väl inte vara?
Så, hur löser vi det här problemet?
Tja du kan ju alltid försöka att utöka plagget genom att sprätta sömmarna och sy nya en liten bit utanför de gamla. Bara några mm i varje söm kan räcka långt.
Men när du inte har så mycket sömsmån eller redan har gjort det och det inte räckte, tja då återstår att skava i mer tyg om du har något kvar.
Eller – använd plagget som mönster.
Du kan antingen sprätta sömmarna och använda plagget som ett mönster direkt som det är, eller så kan du göra som jag föredrar. Använd ett nonwoven mönsterpapper (det finns ett som kallas yellowpaper pga det gula omslaget bland annat) och rita av delarna.
Det är alternativet jag valde när en vän behövde en ny, lite större cotte.
* * * * * * * * * * * * * * * * * * * * * * * * * * * * * * * * * * * *
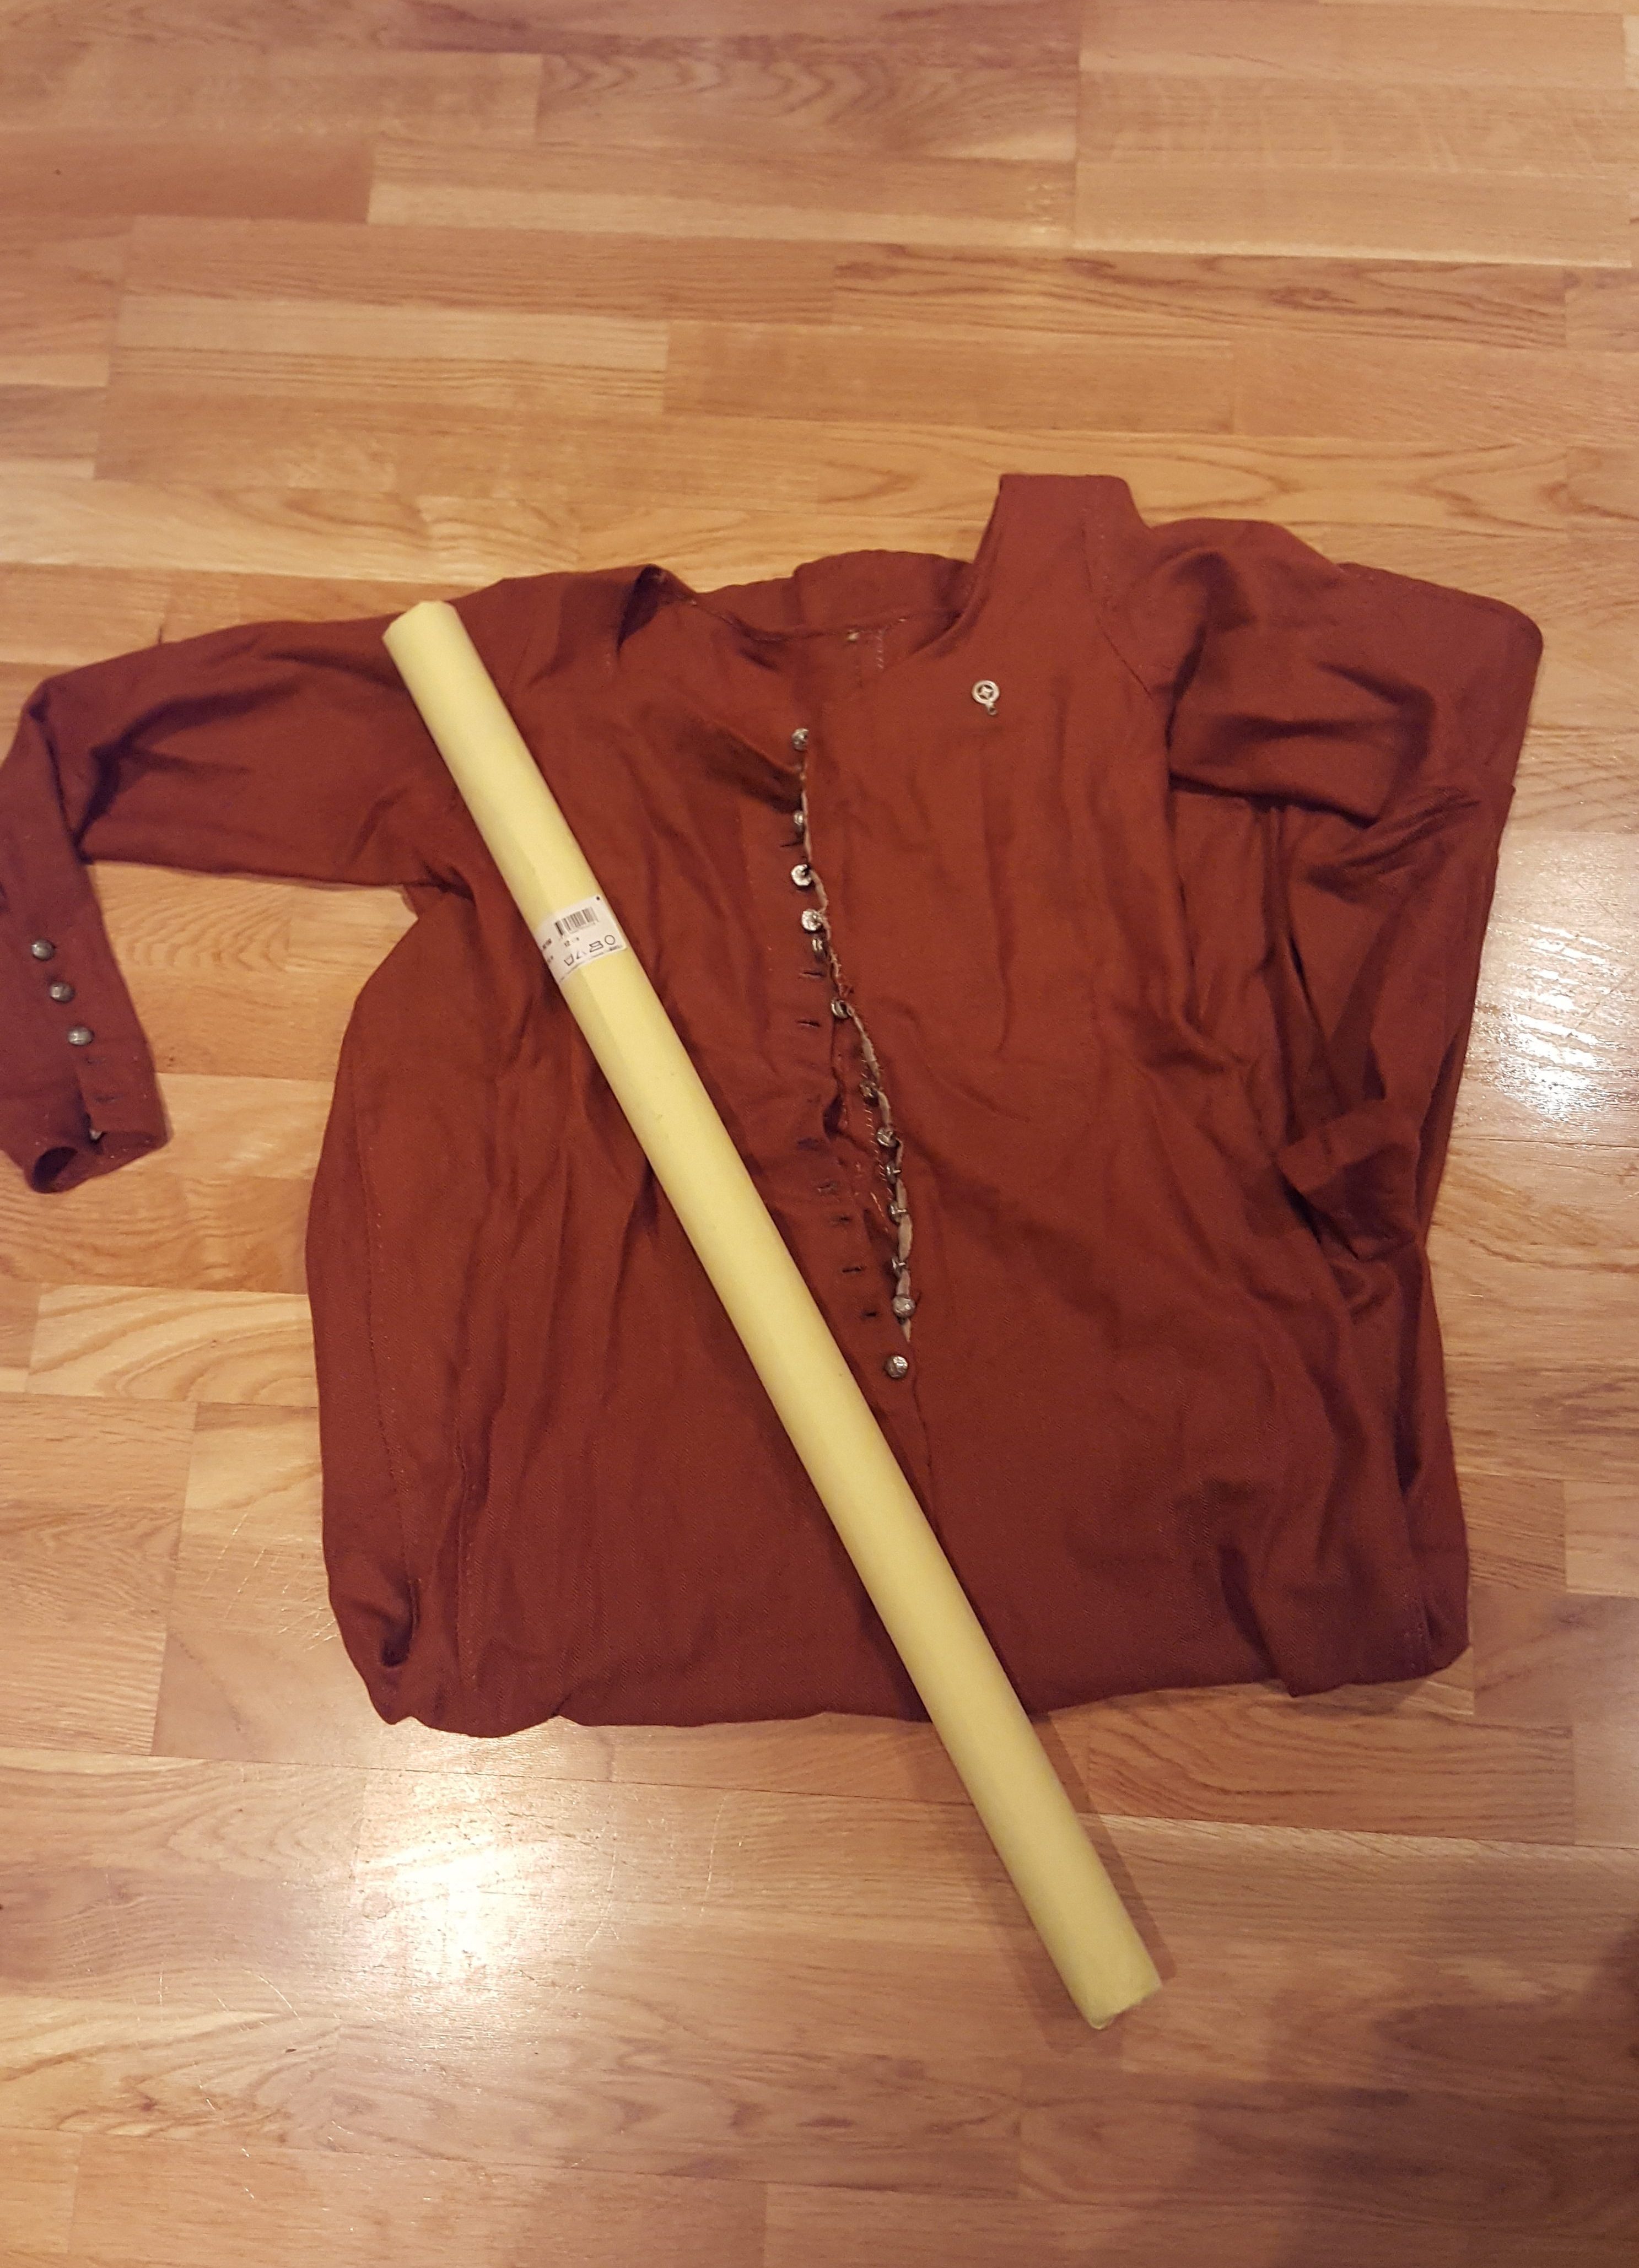
So, this is the cotehardie that is going to become the pattern for the new dress, and the ”yellowpaper” – nonwoven patternpaper.
* * * * * *
Här är alltså plagget som är utgångspunkten för det nya mönstret, samt det som kallas för ”yellowpaper” nonwoven mönsterpapper.
* * * * * * * * * * * * * * * * * *
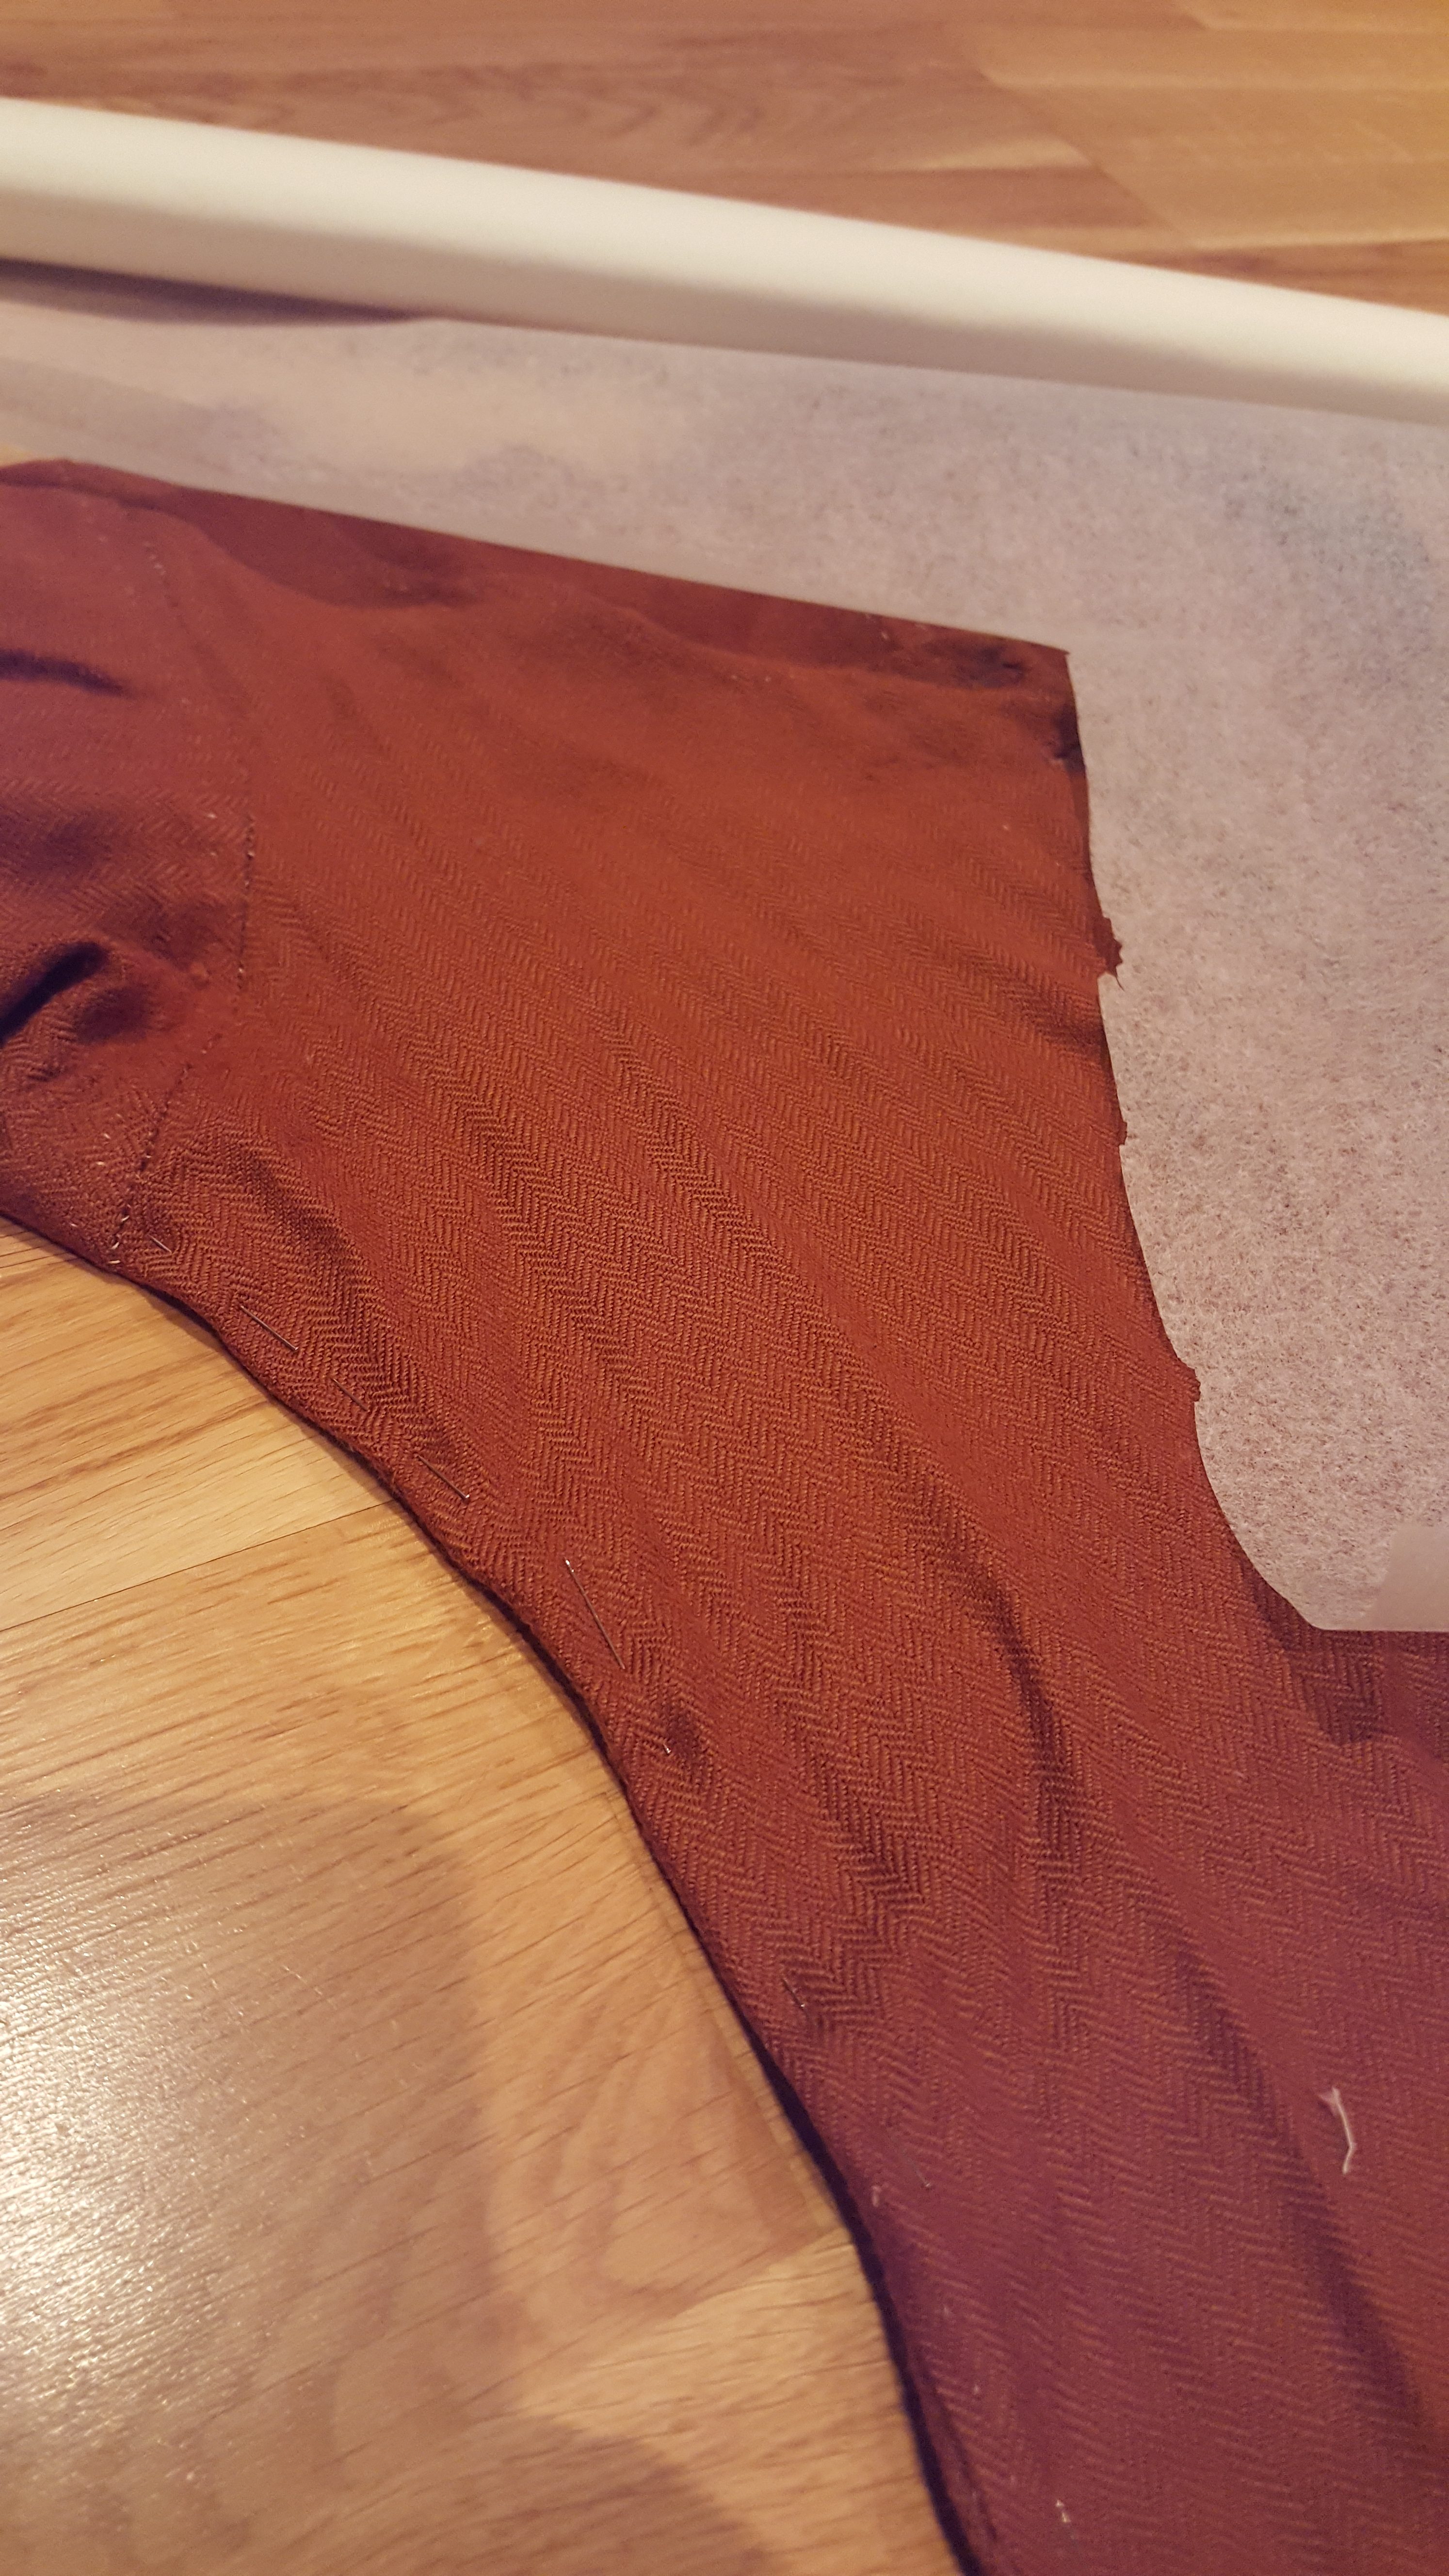
To make the clothing item lay flat and be more precise, I pin the fabric close to the seams and try to flatten it as much as possible. A clothing item that have been worn to small will have misshaped panels due to stress on the fabric, but you can only do your best to make it as flat and as precise as it was when it was new, sometimes you just have to accept a wrinkle in the fabric that doesn´smooth however you try to pull and fix the fabric.
* * * * * * * *
För att få plagget att ligga så platt och ”precist” som det går så nålar jag längst sömmarna. Ett plagg som använts när det varit för litet kommer att ha format sig lite efter bäraren där tyget har sträckts ut och töjts på ett sätt som inte var meningen. Du kan bara göra ditt bästa för att platta ut det, till slut får man liksom acceptera vissa veck av ”överflödigt” tyg och bara köra på.
* * * * * * * * * * * * * * * * * * * * * * * * * * *
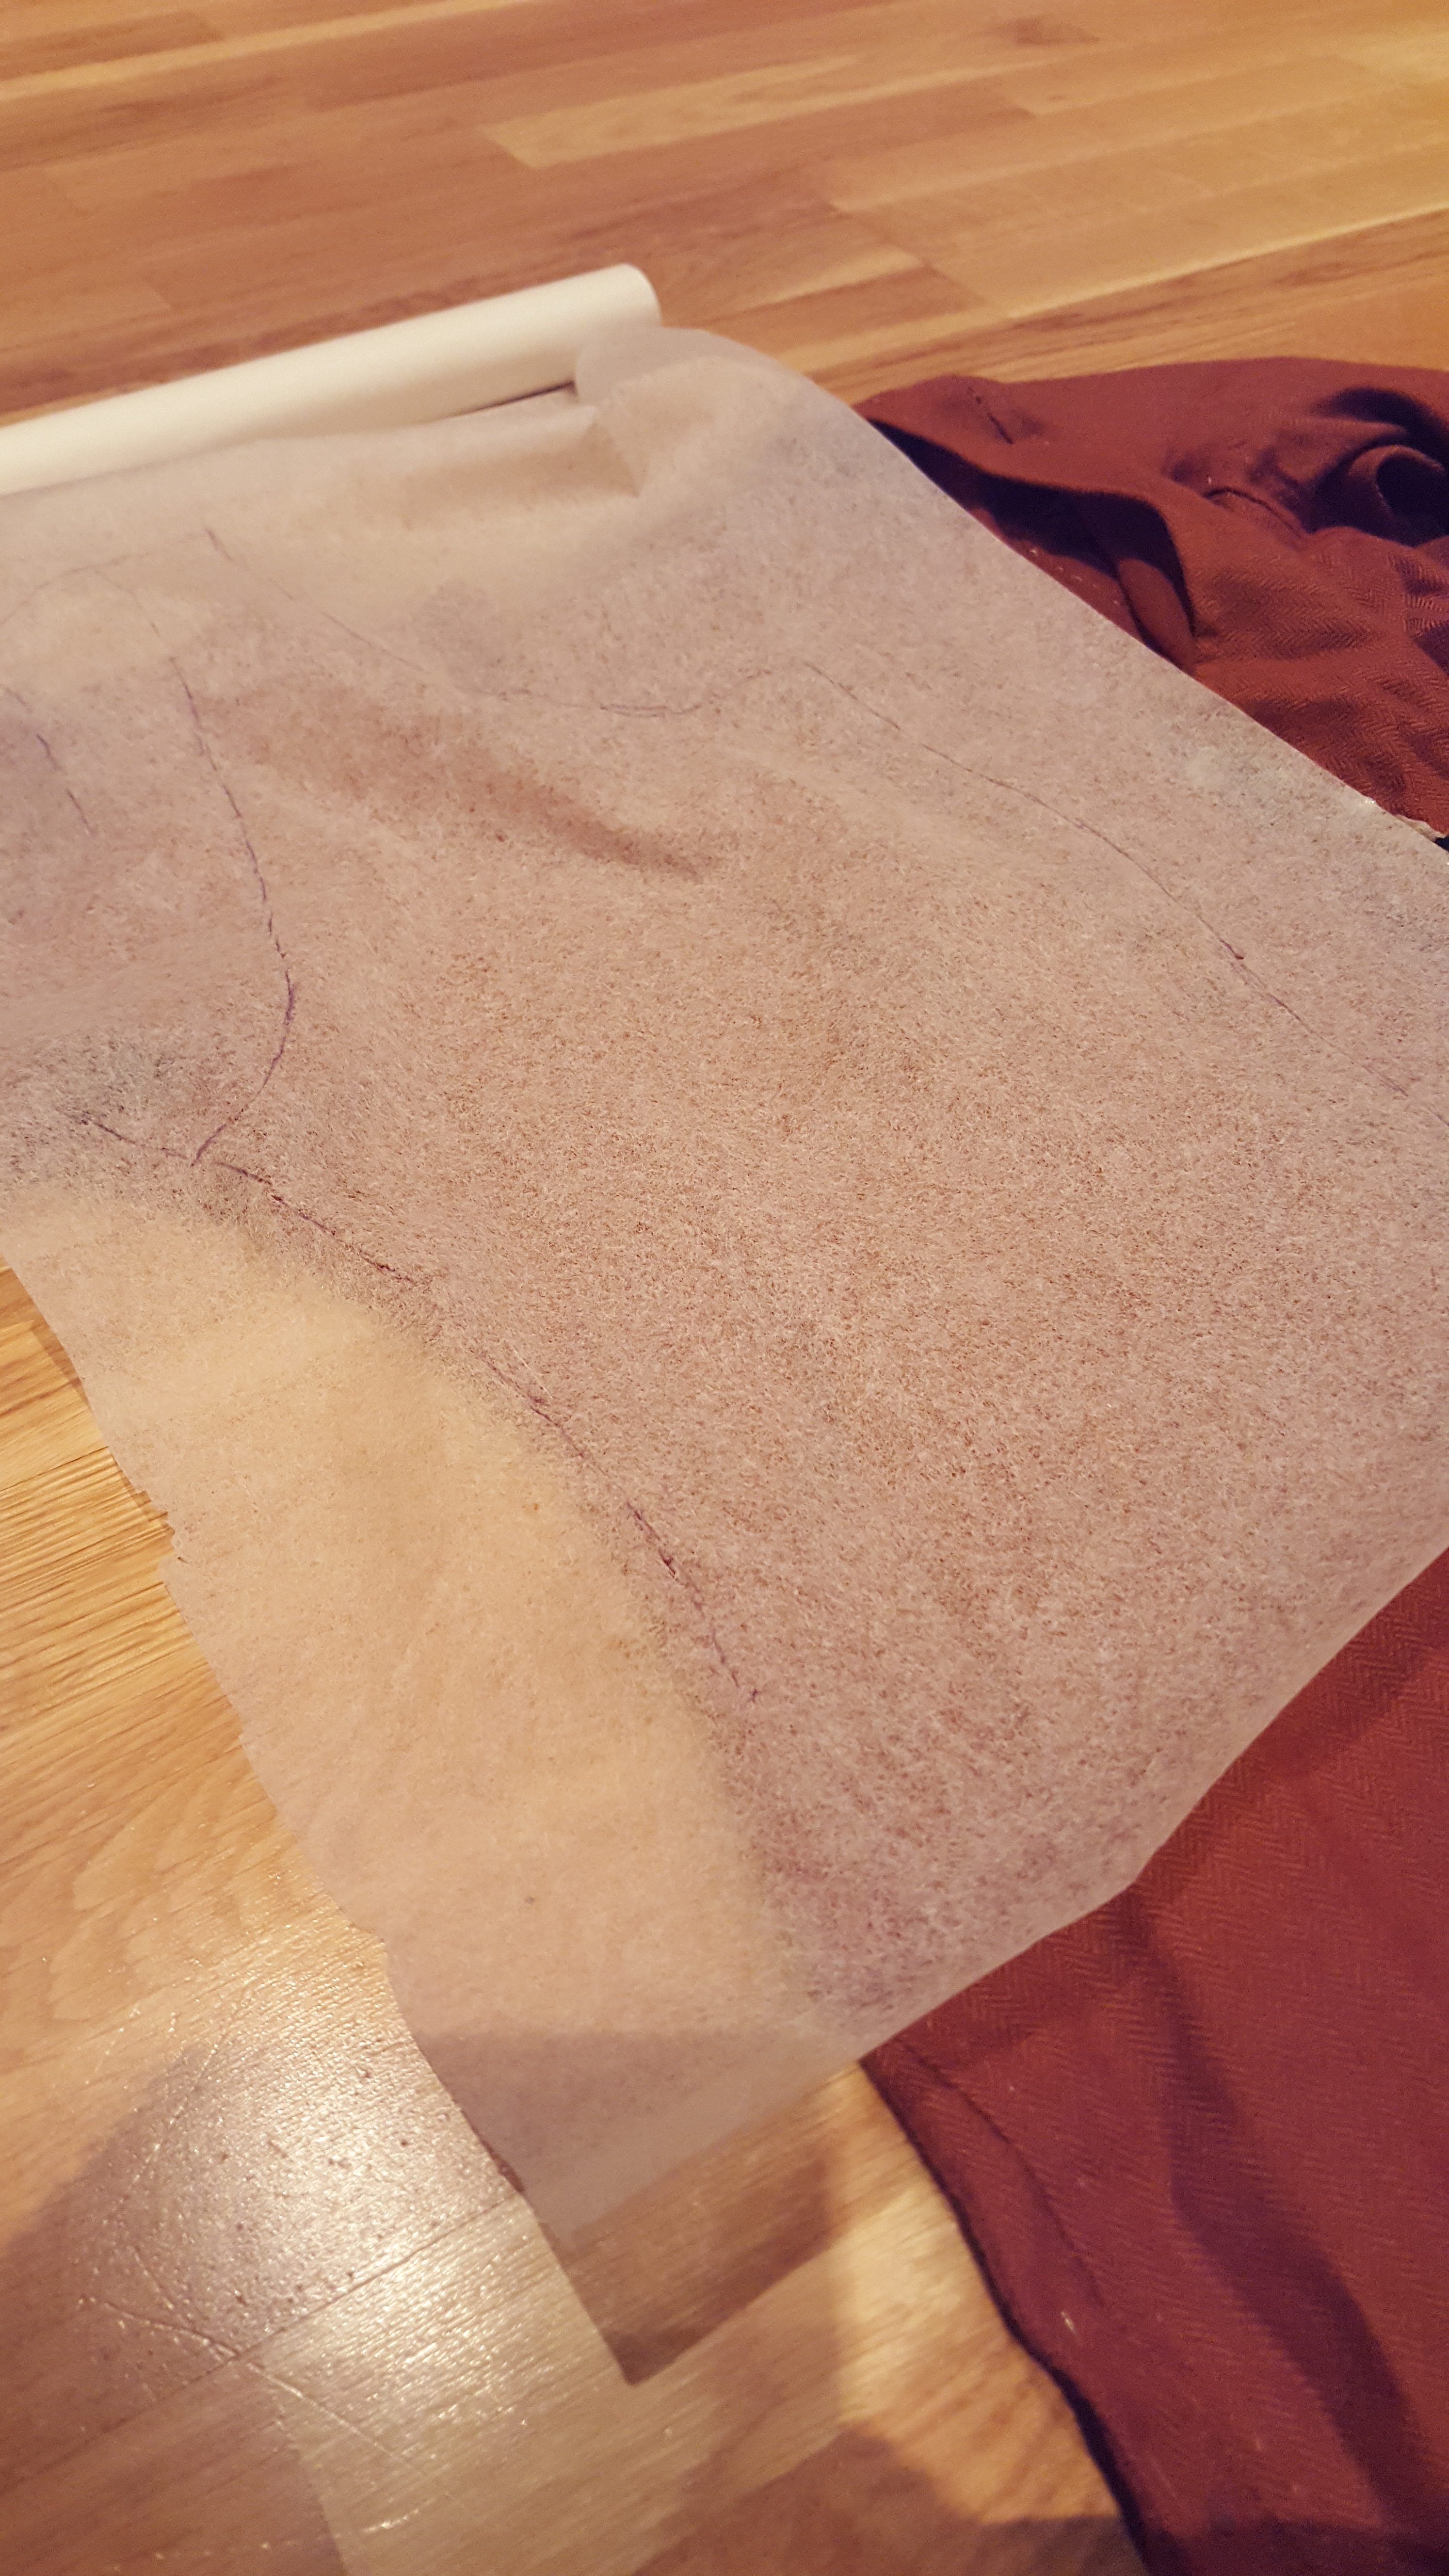
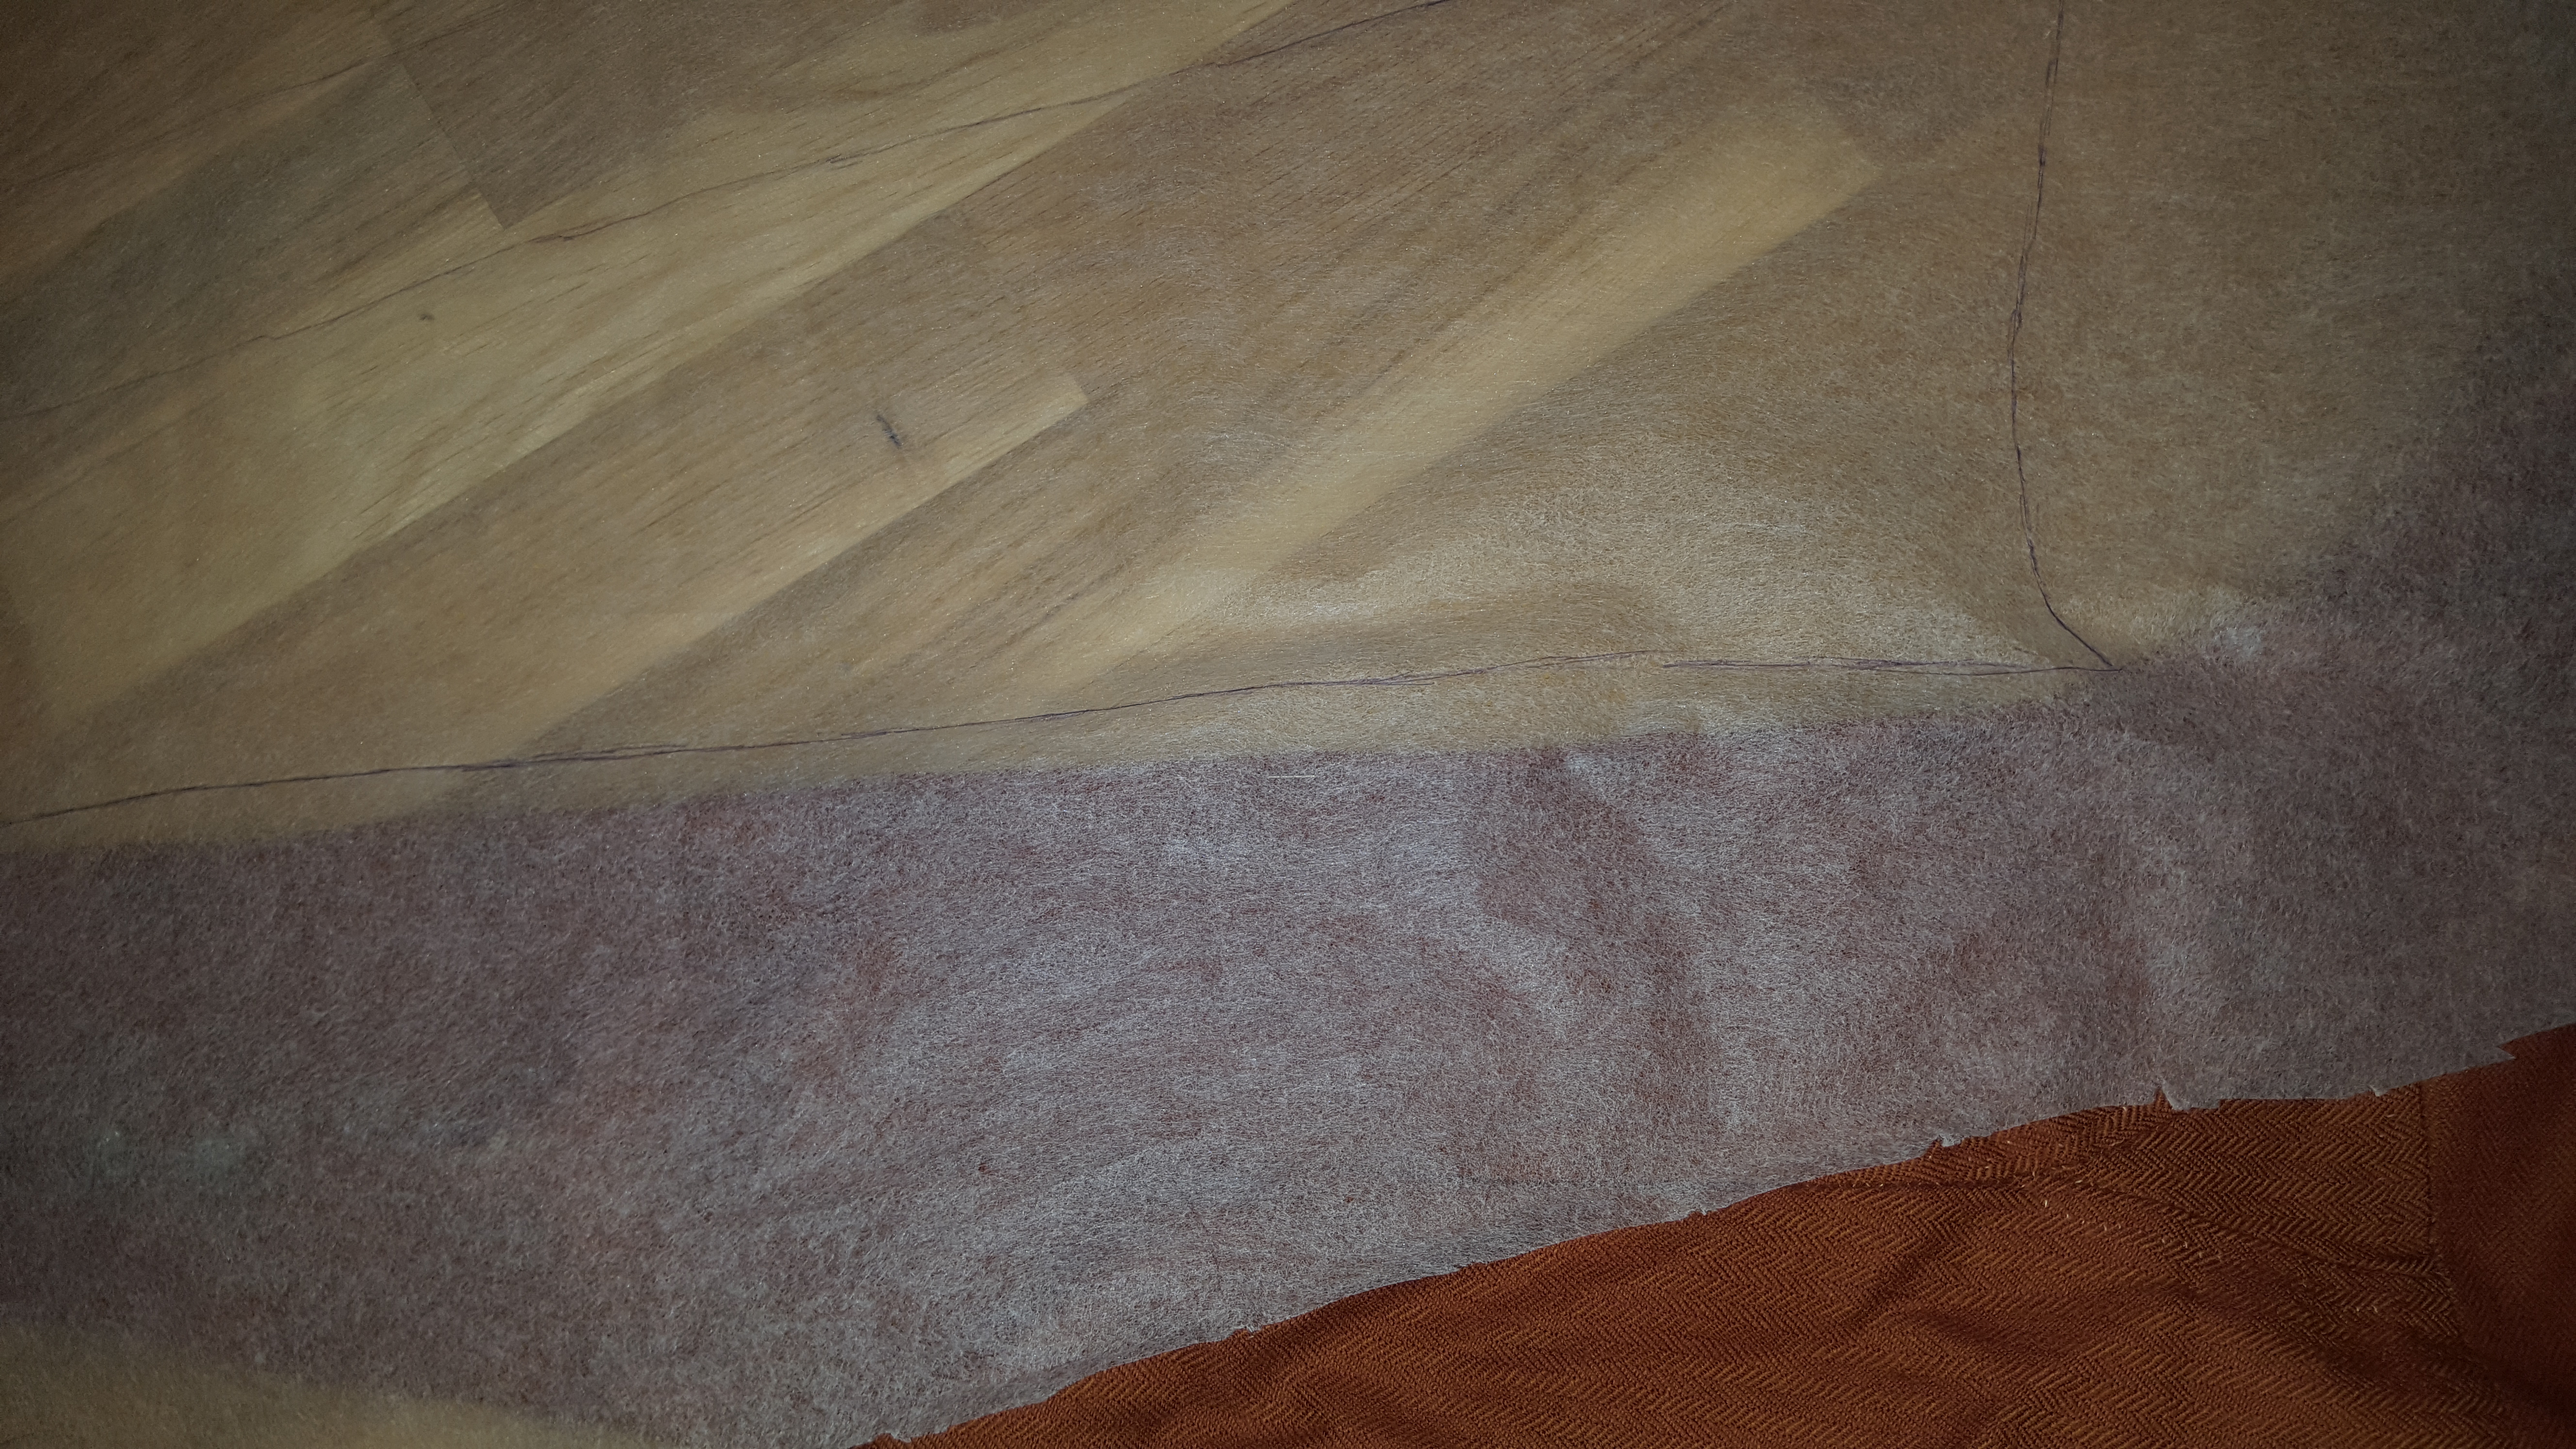
Put our patternpaper over the clothing item. You usually don’t have to draw further down than the waist, and that is usually where the gussets point is located. Put some weights on the paper so it doesn’t move when you trace the edges of the panel (removed here so they wouldn’t obstruct the view)
* * * * * * * *
Lägg mönsterpappret ovanpå plagget. Man brukar sällan behöva rita längre ner än till midjan, som oftast är där spetsen på kilarna slutar. Lägg gärna tyngder på mönsterpappret så det inte rör sig när du försöker följa kanten på panelen. (jag tog bort tyngderna på bilderna så att de inte ska skymma något)
* * * * * * * * * * * * * * * * * * * * * * * * * * * * * * * *
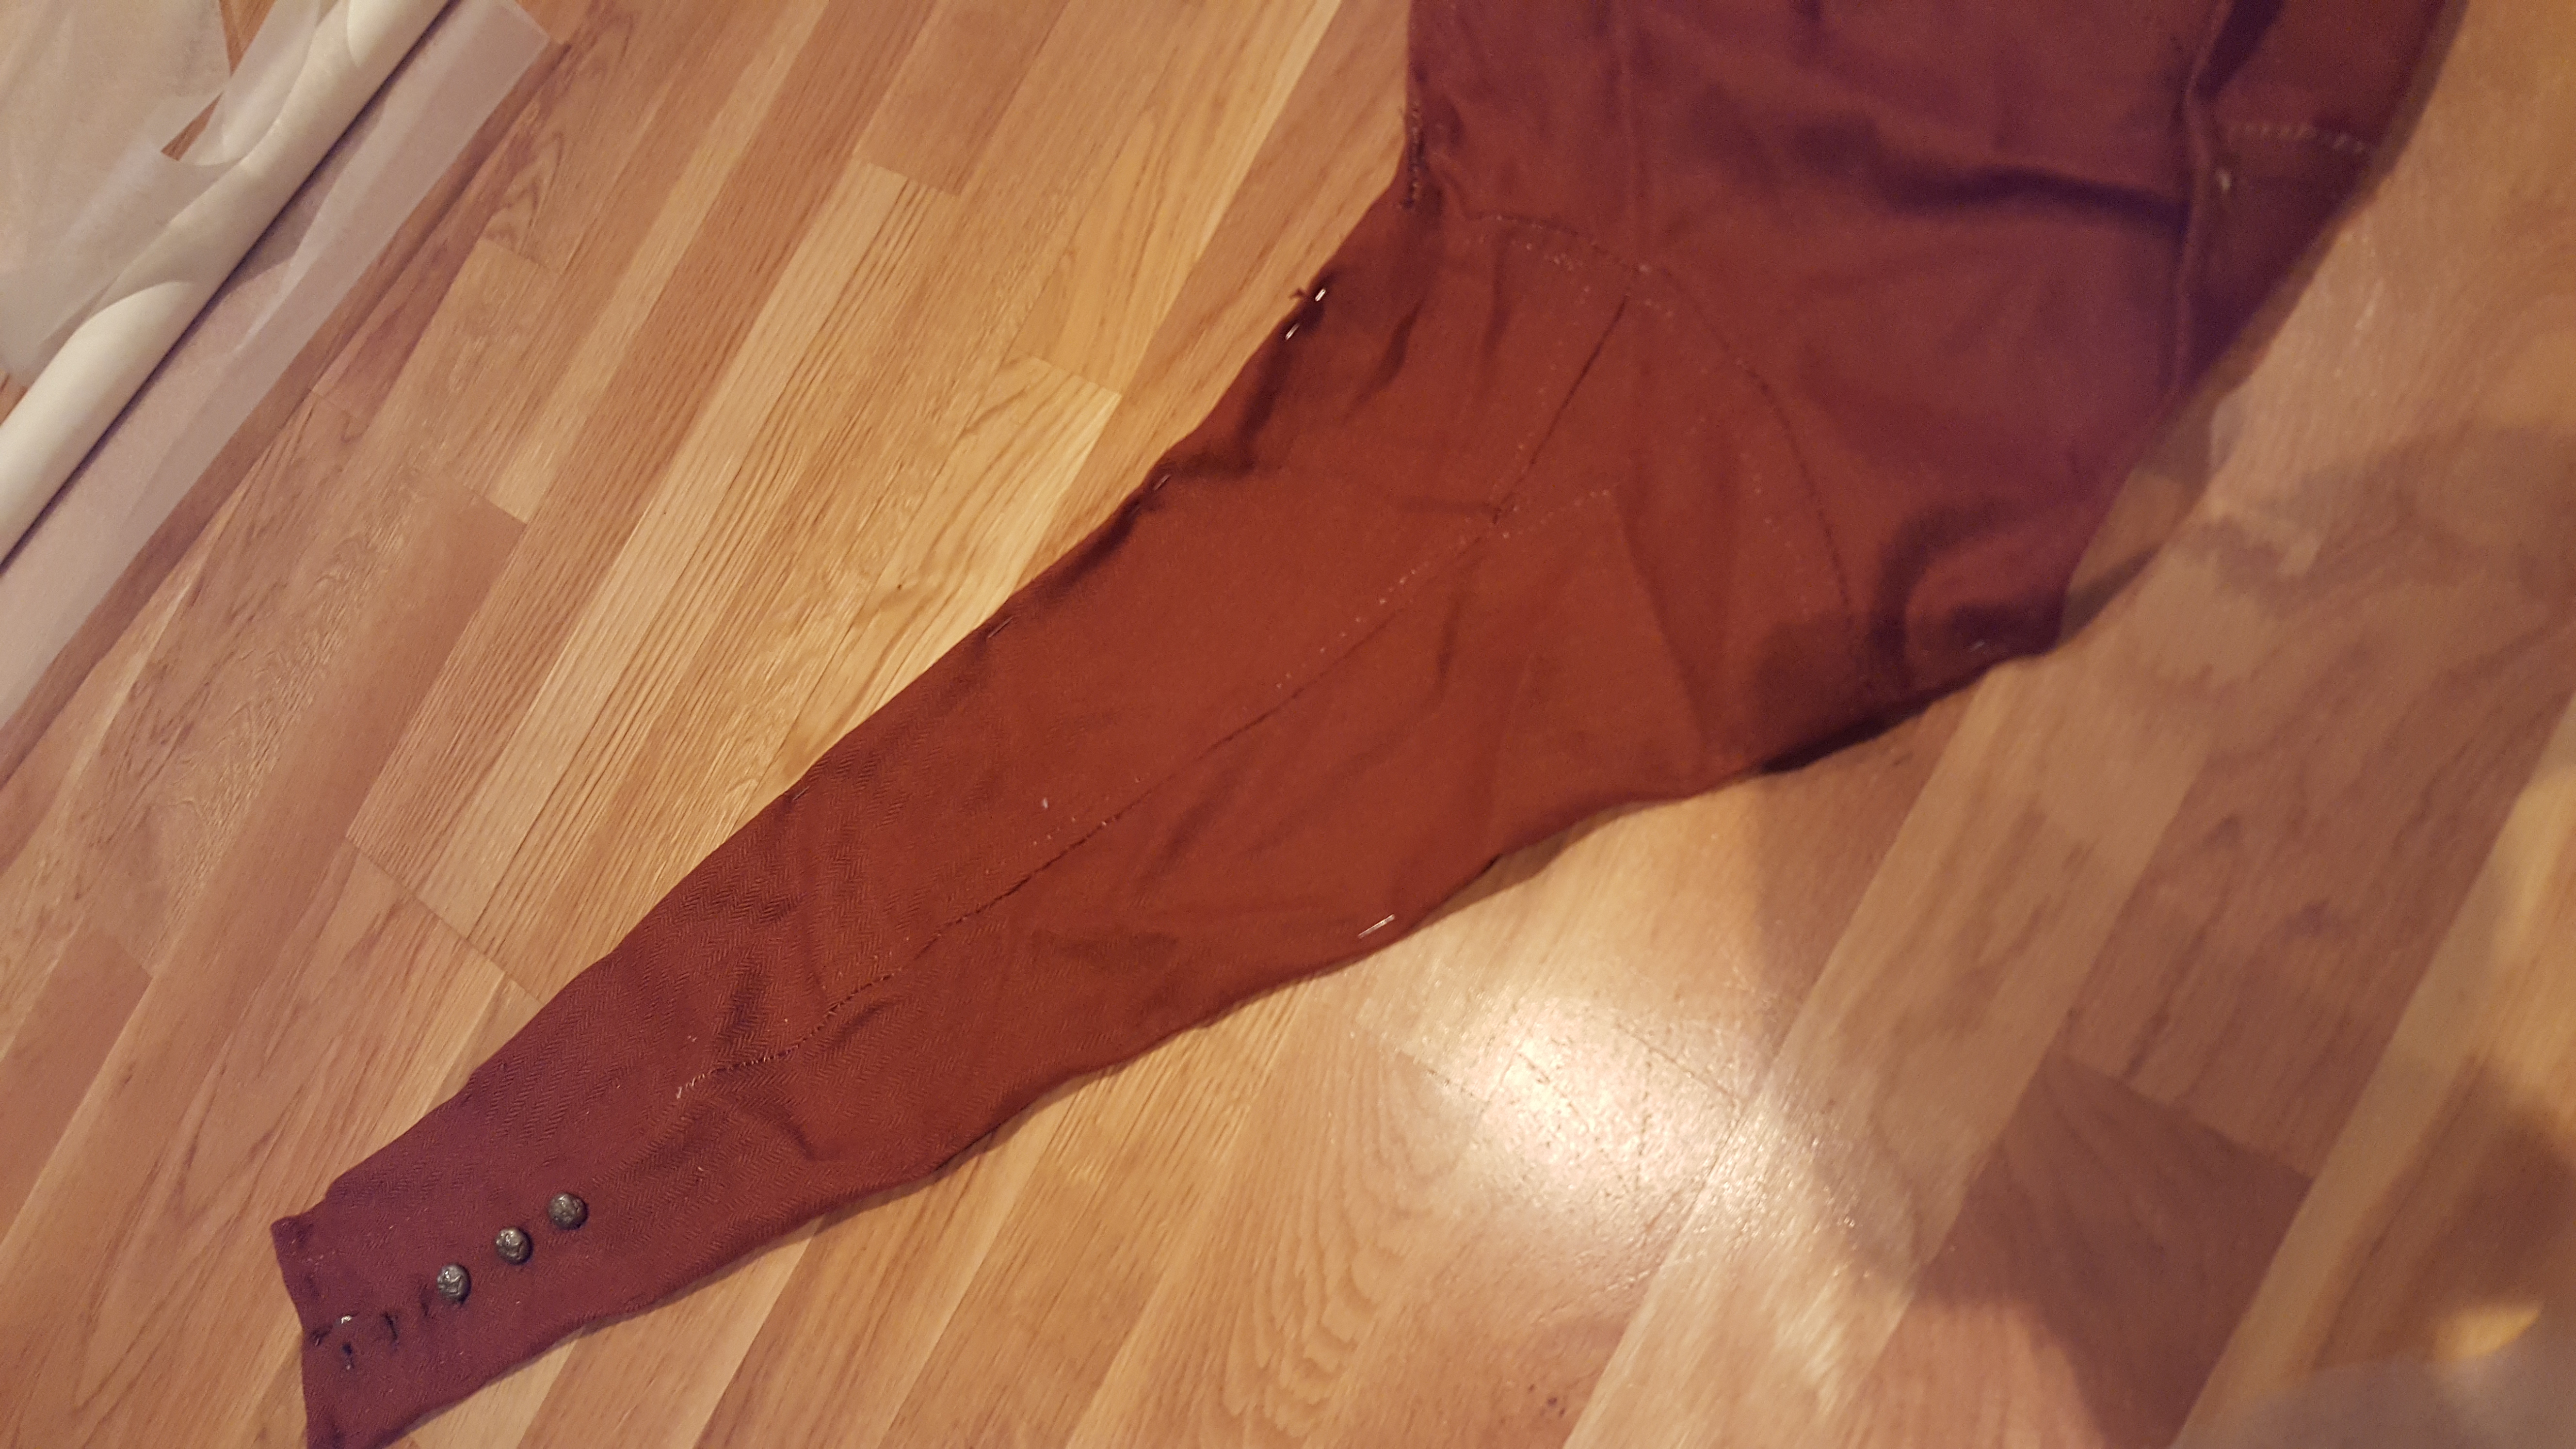
Just showing how the panel piece looks after beeing cut out.
* * * * * * *
Försöker visa hur mönsterbiten ser ut när den har blivit urklippt.

* * * * * * * * * * * * * * * * * * * * * * * * * * * * * * * * *
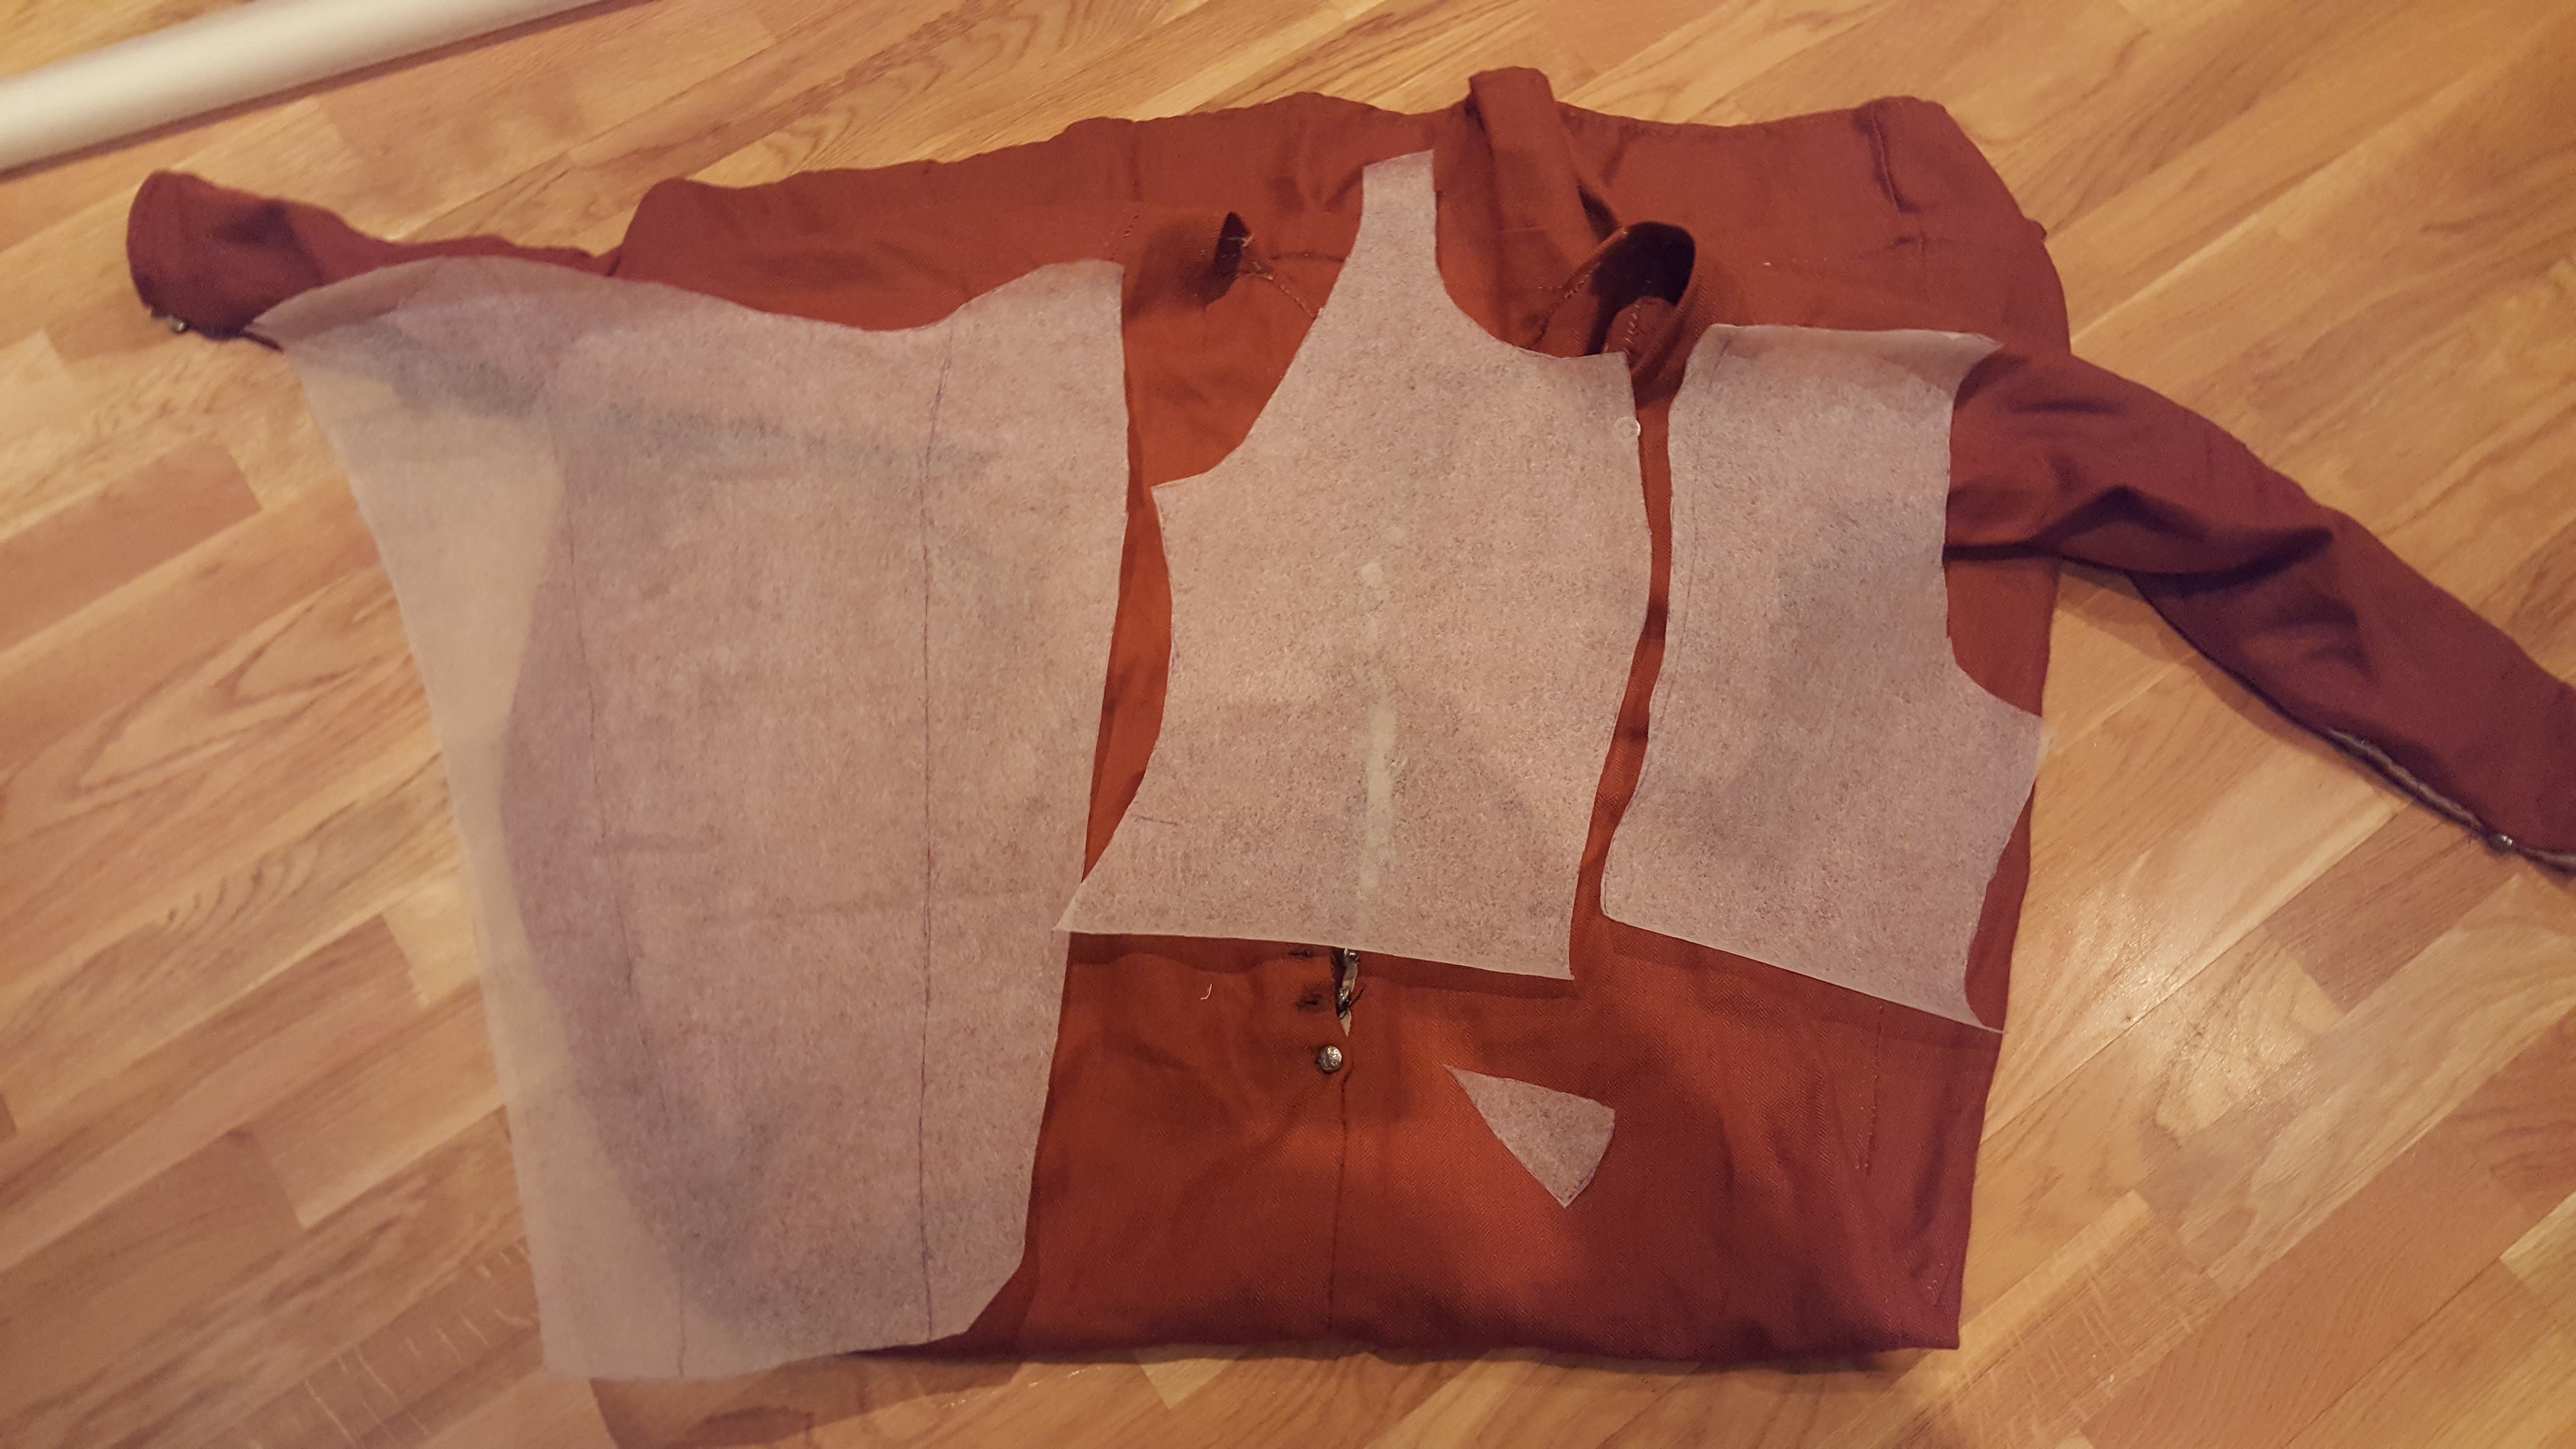
Pin the edges of the sleeve as well. It is important that it lays flat.
* * * * * *
Nåla kanten på ärmarna också, det är väldigt viktigt att den ligger platt.
* * * * * * * * * * * * * * * * * * * * * * * * * * * * * * * * * *
What you see above the sleeve is the traced edges of how the front side of the sleeve looks like, Now I am trying to place the edges of the drawing as close to the edge of the backside of the sleeve as I can, to trace them to each side of the ”front side”.
* * * * * *
Vad du ser ovanför ärmen är de utritade konturerna av ärmens framsida. Nu försöker jag placera kanterna på den utritade delen så nära kanten på baksidan av ärmen jag kan för att fylla på med resten av ärmen där på varje sida om den tidigare utritade delen.
* * * * * * * * * * * * * * * * * * * * * * * * * * * * * *
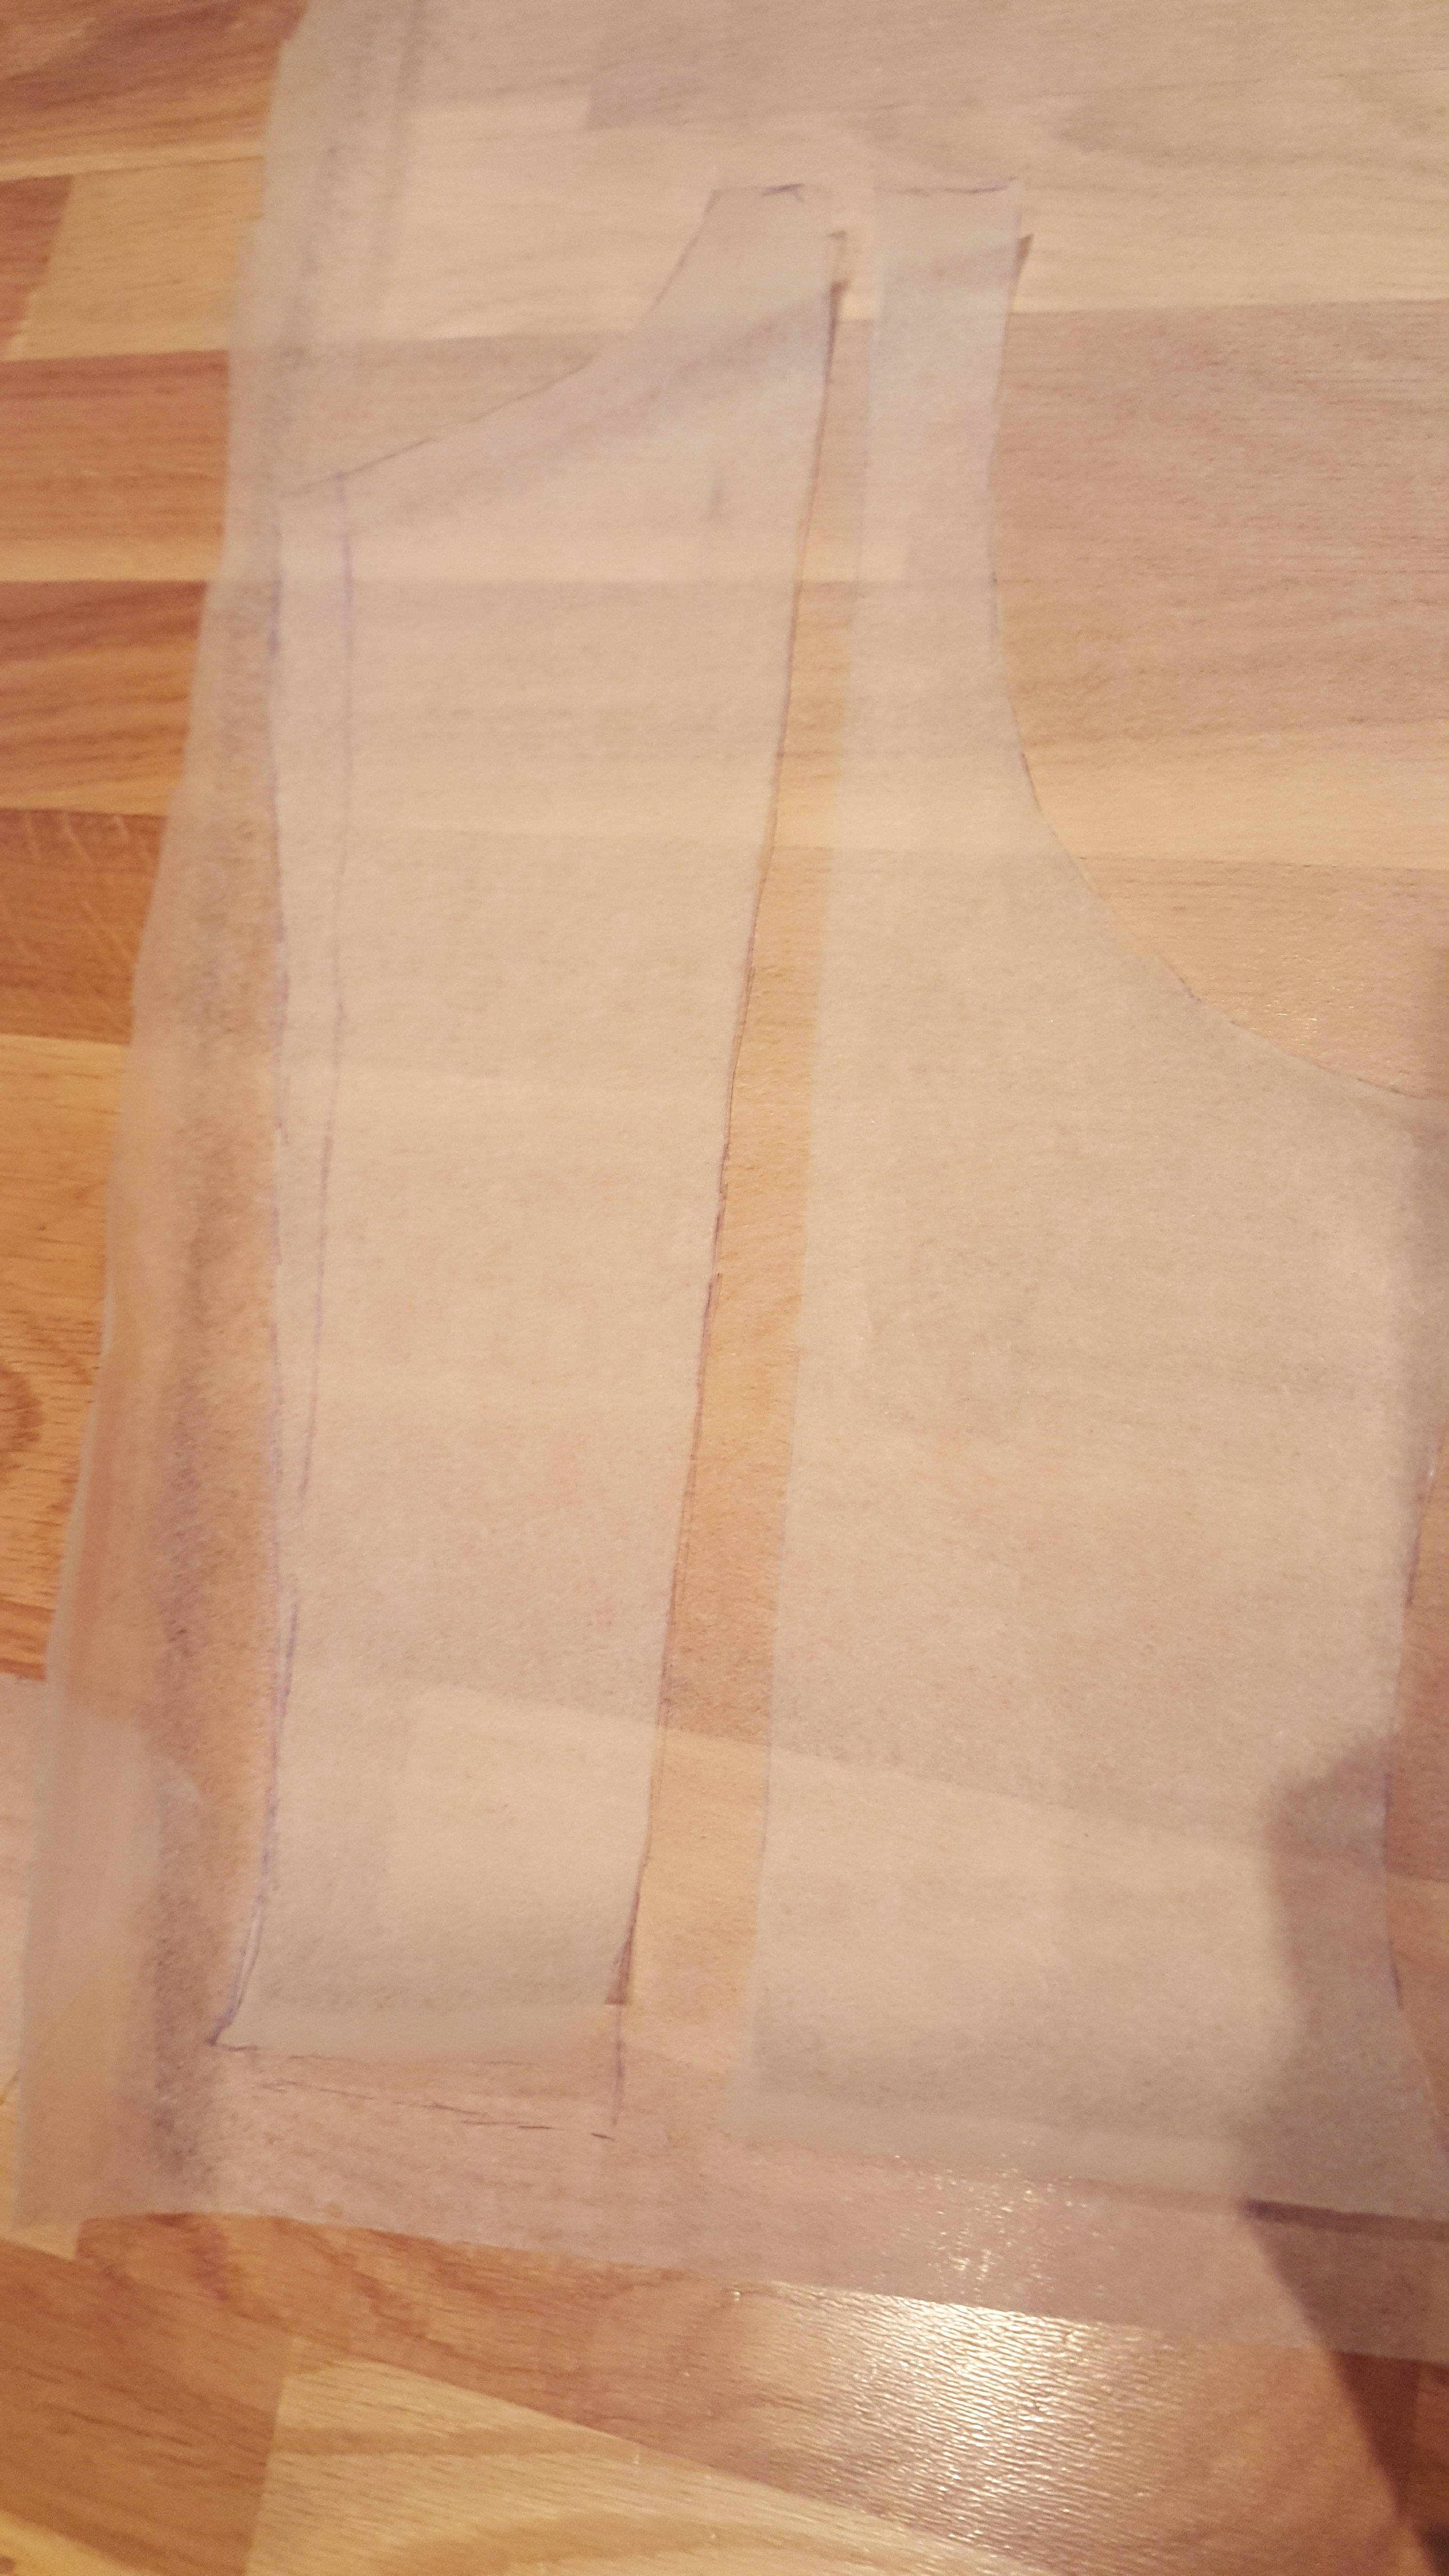
This is how the patternpieces are looking now. The sleeve have all parts drawn out and it makes an S-shaped curve at the top since the seam is on the back side of the sleeve and not underneath as on many modern clothes.
* * * * * *
Så här ser mönsterdelarna ut nu efter att ha ritats av. Ärmen har alla delar ditritade och har fått sin S-form eftersom den här modellen på ärm har sömmen bakpå ärmen och inte under, som många moderna plagg har.
* * * * * * * * * * * * * * * * * * * * * * * * * * * *
Now it is time to do the adjustments.
On this cotehardie I am not going to change the size of the sleeve or the armehole so it is quite straight forward. This is going to be about 5 cm wider. So I want to add 1 cm to each panel. And if you only add in the sides you will have to do a new sleevepattern from scratch.
So, draw and cut a straight line from the shoulder to the bottom of the pattern.
* * * * * *
Nu är det dags att börja justera mönstret.
På den här cotten så ska jag inte ändra storleken på ärm och ärmhål så det är rätt enkelt. Jag vill lägga till ca 5 cm i vidd runt kroppen så jag kommer lägga till 1 cm per mönsterdel.
Om man bara lägger till i sidorna så kommer ärmhålen att tappa sin form och då behöver man göra en helt ny ärm från grunden.
Så dra och klipp en rak linje från axel till nederkant helt enkelt.
* * * * * * * * * * * * * * * * * * * * * * * * *
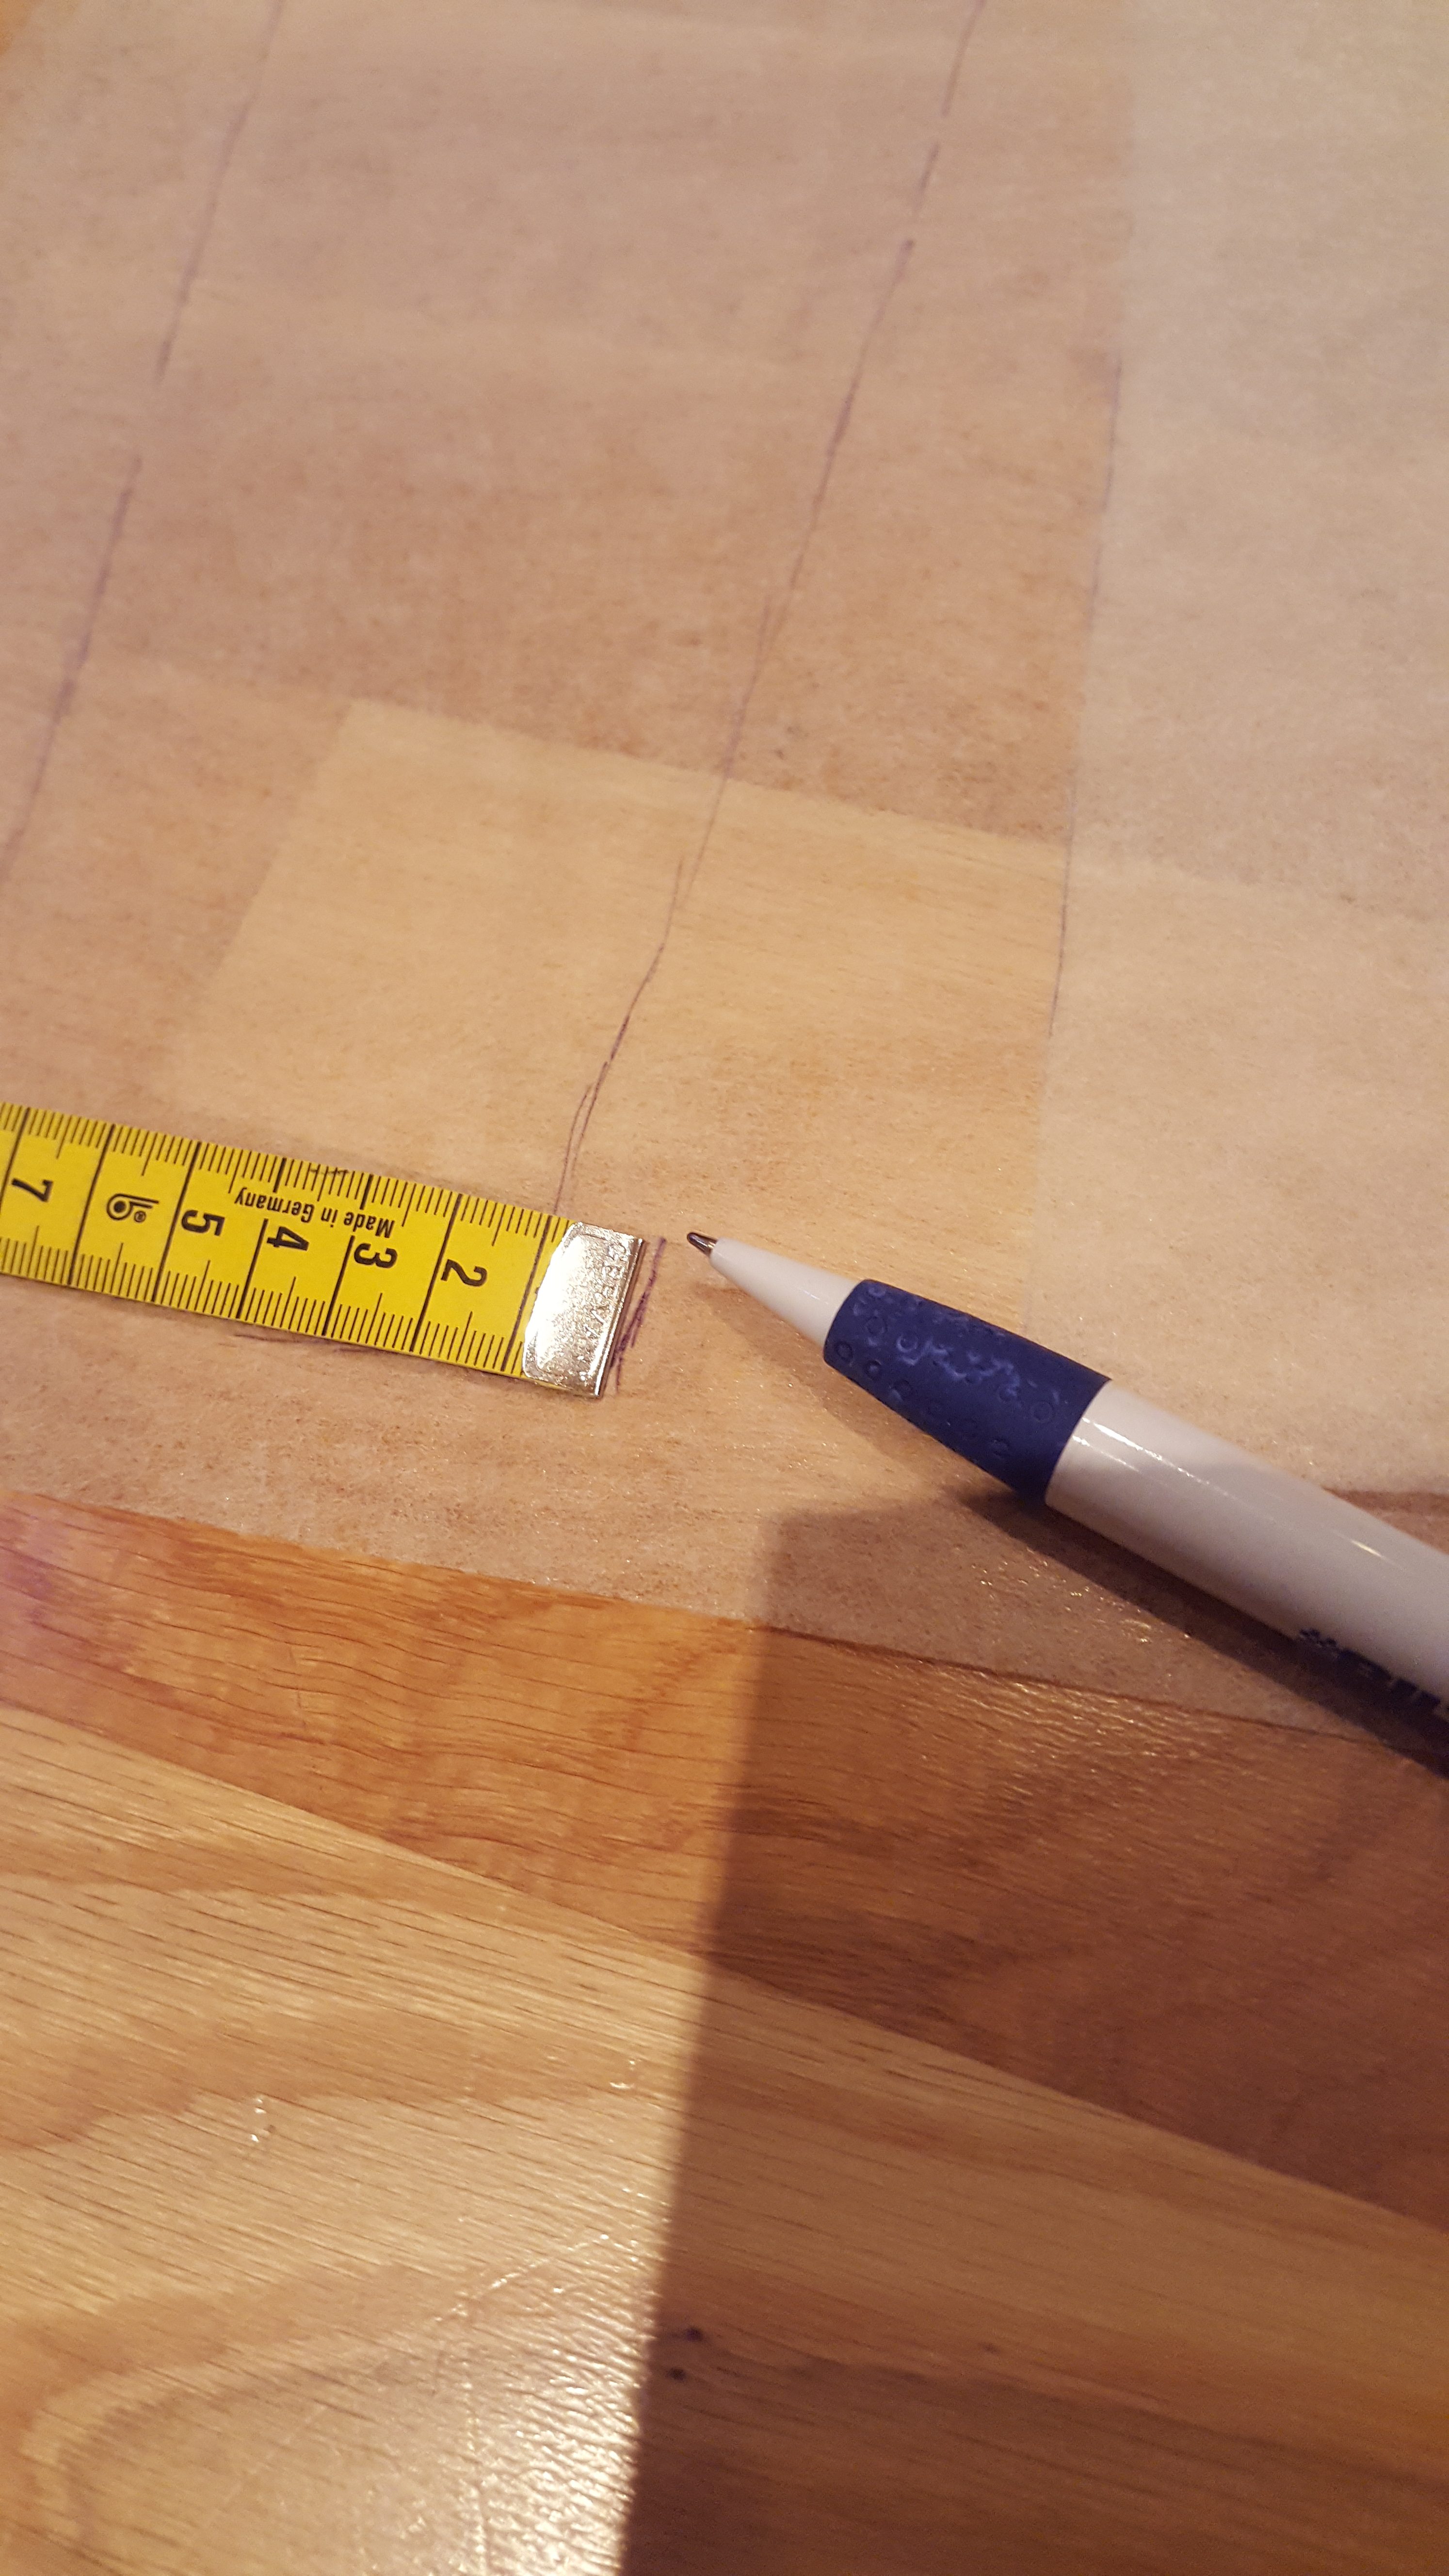
I have traced the left side of the cut up pattern piece as you can see above. Now I am adding a one cm space and then I will trace the other paternpiece to the other side of the space.
* * * * *
Som du kan se på bilden ovan så har jag ritat av den vänstra delen av det uppklippta mönstret på ett nytt mönsterpapper och nu mäter jag ut 1 cm längs den raka kanten innan jag lägger dit den andra mönsterdelen längs den utmätta nya linjen och ritar dit.
* * * * * * * * * * * * * * * * * * * * * * * * * * * * * * *
The other half of the pattern have been added on from the dotted line, so now the pattern is one cm wider then before.
* * * * *
Nu har andra halvan blivit tillagd från den streckade linjen, och mönsterdelen är alltså 1 cm bredare än tidigare.
* * * * * * * * * * * * * * * * * * * * * * * * * * * * *
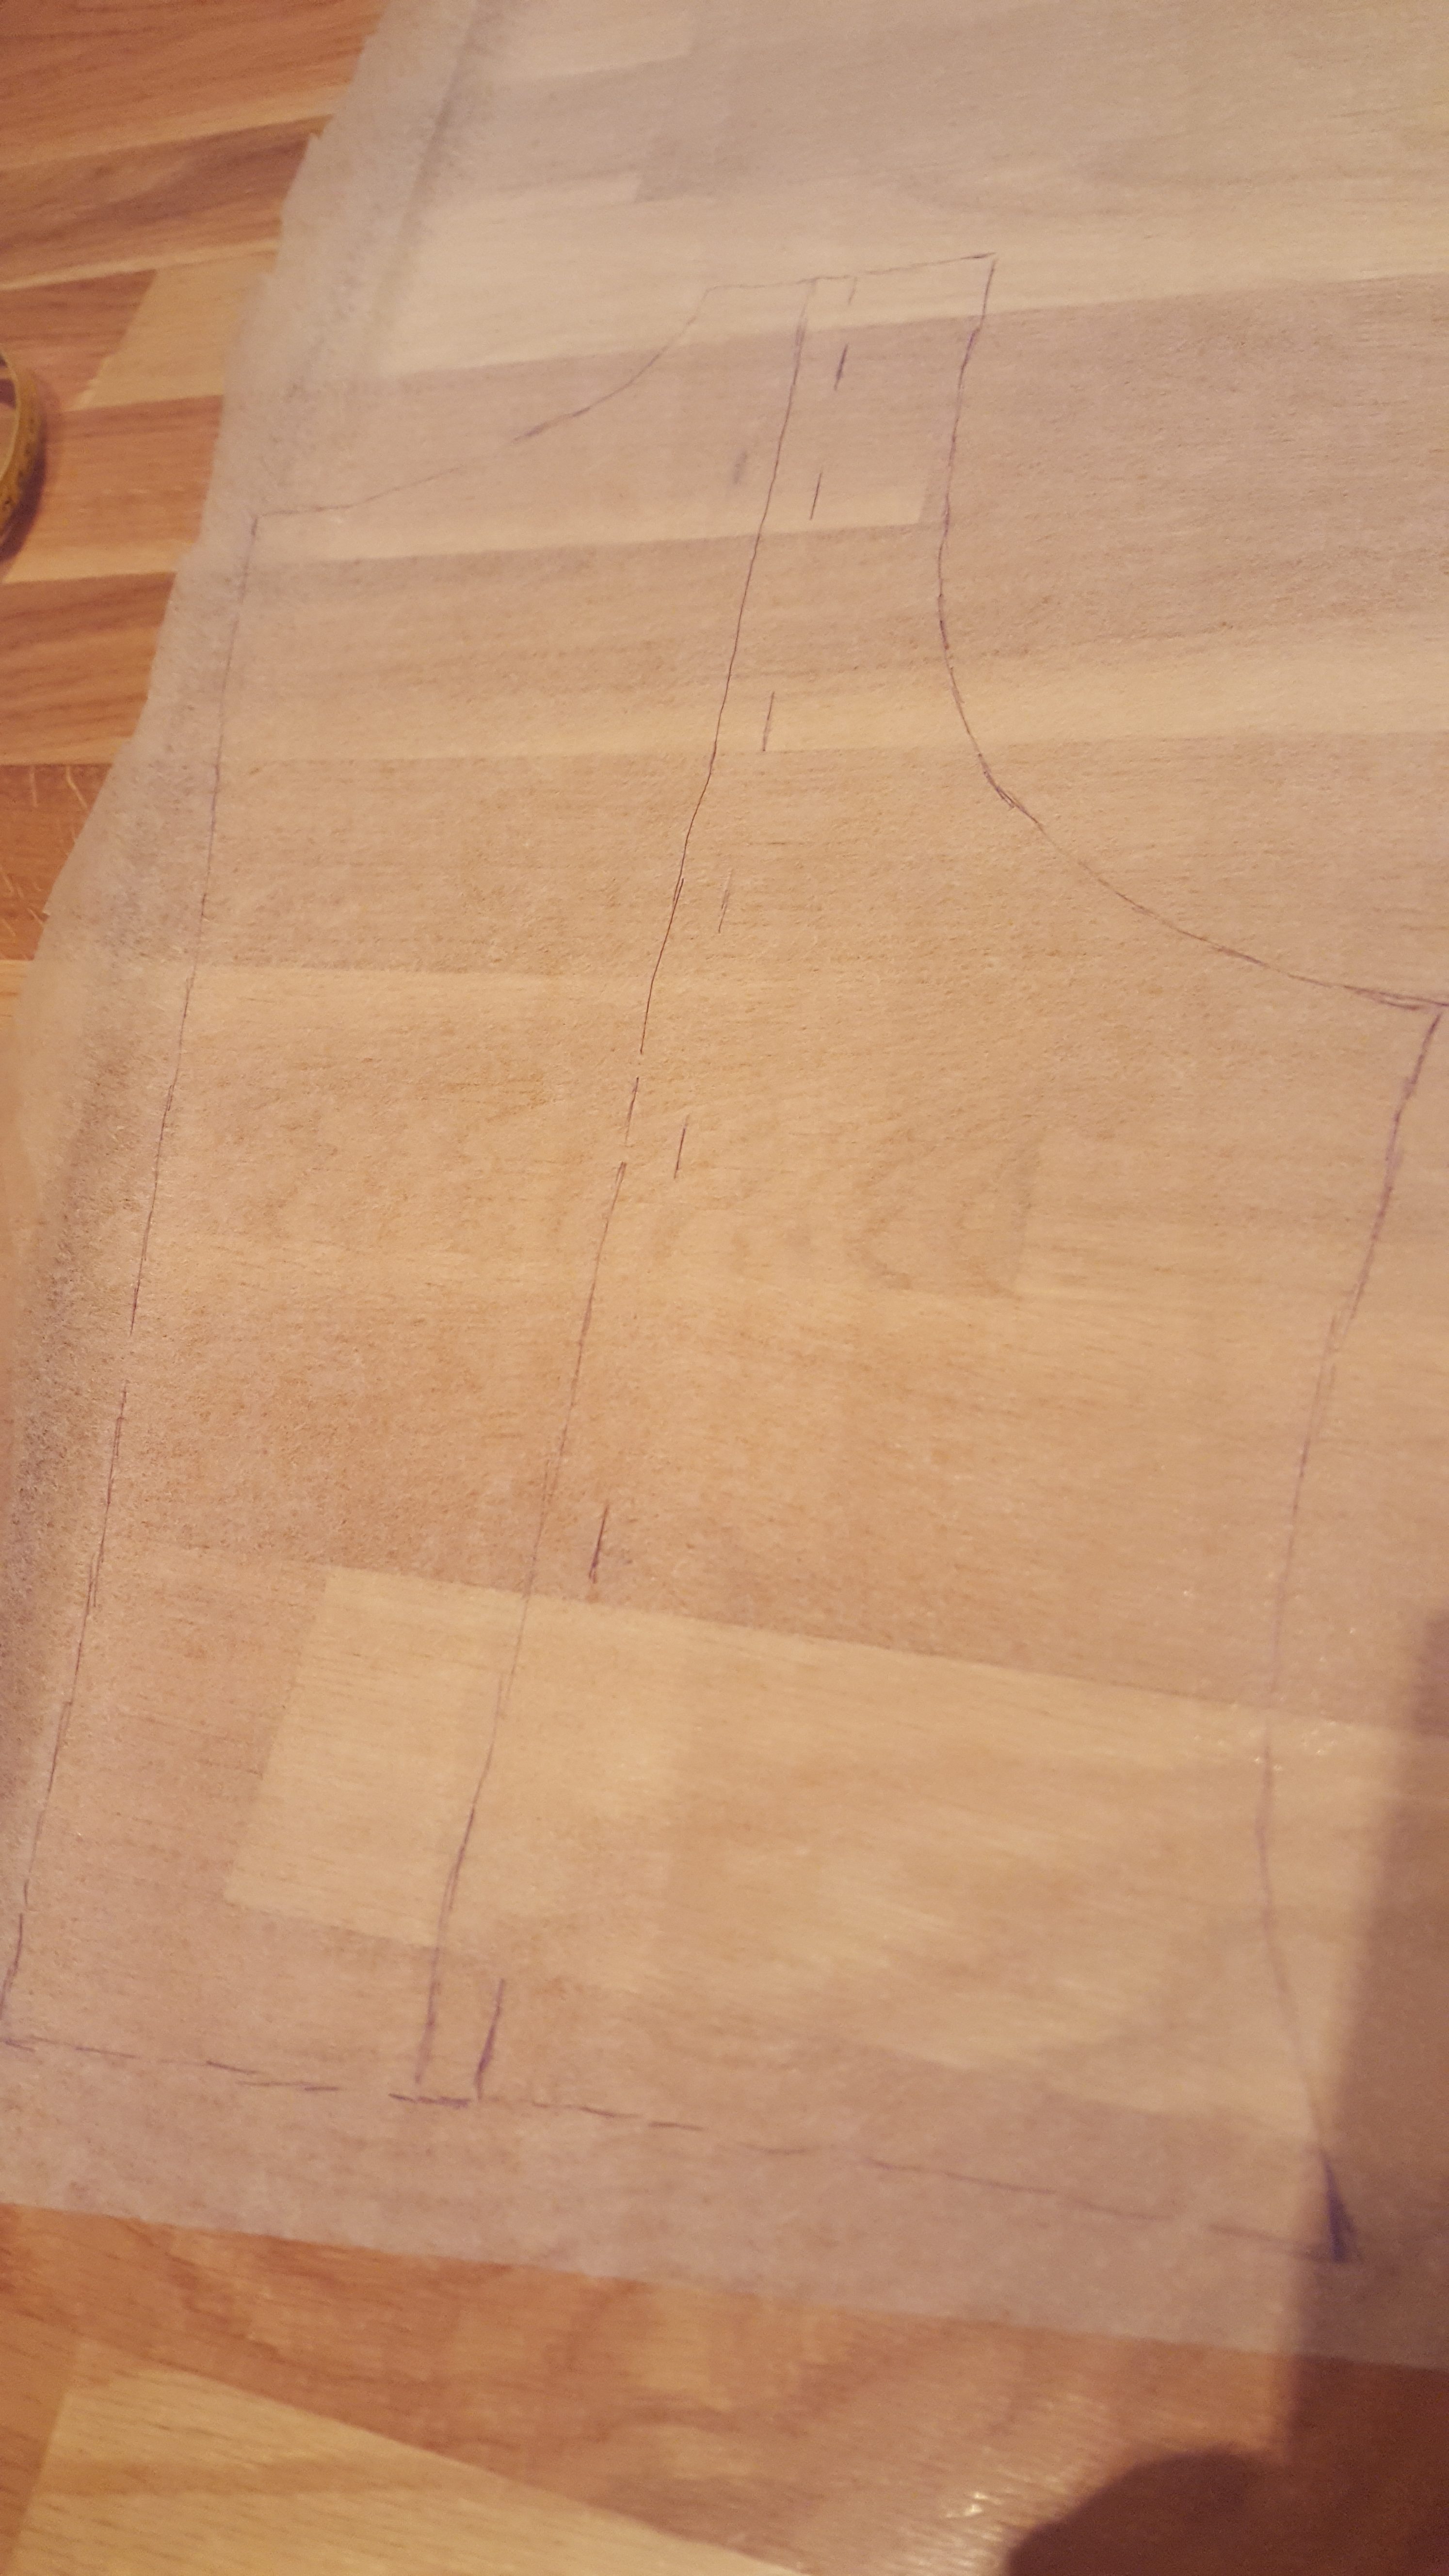
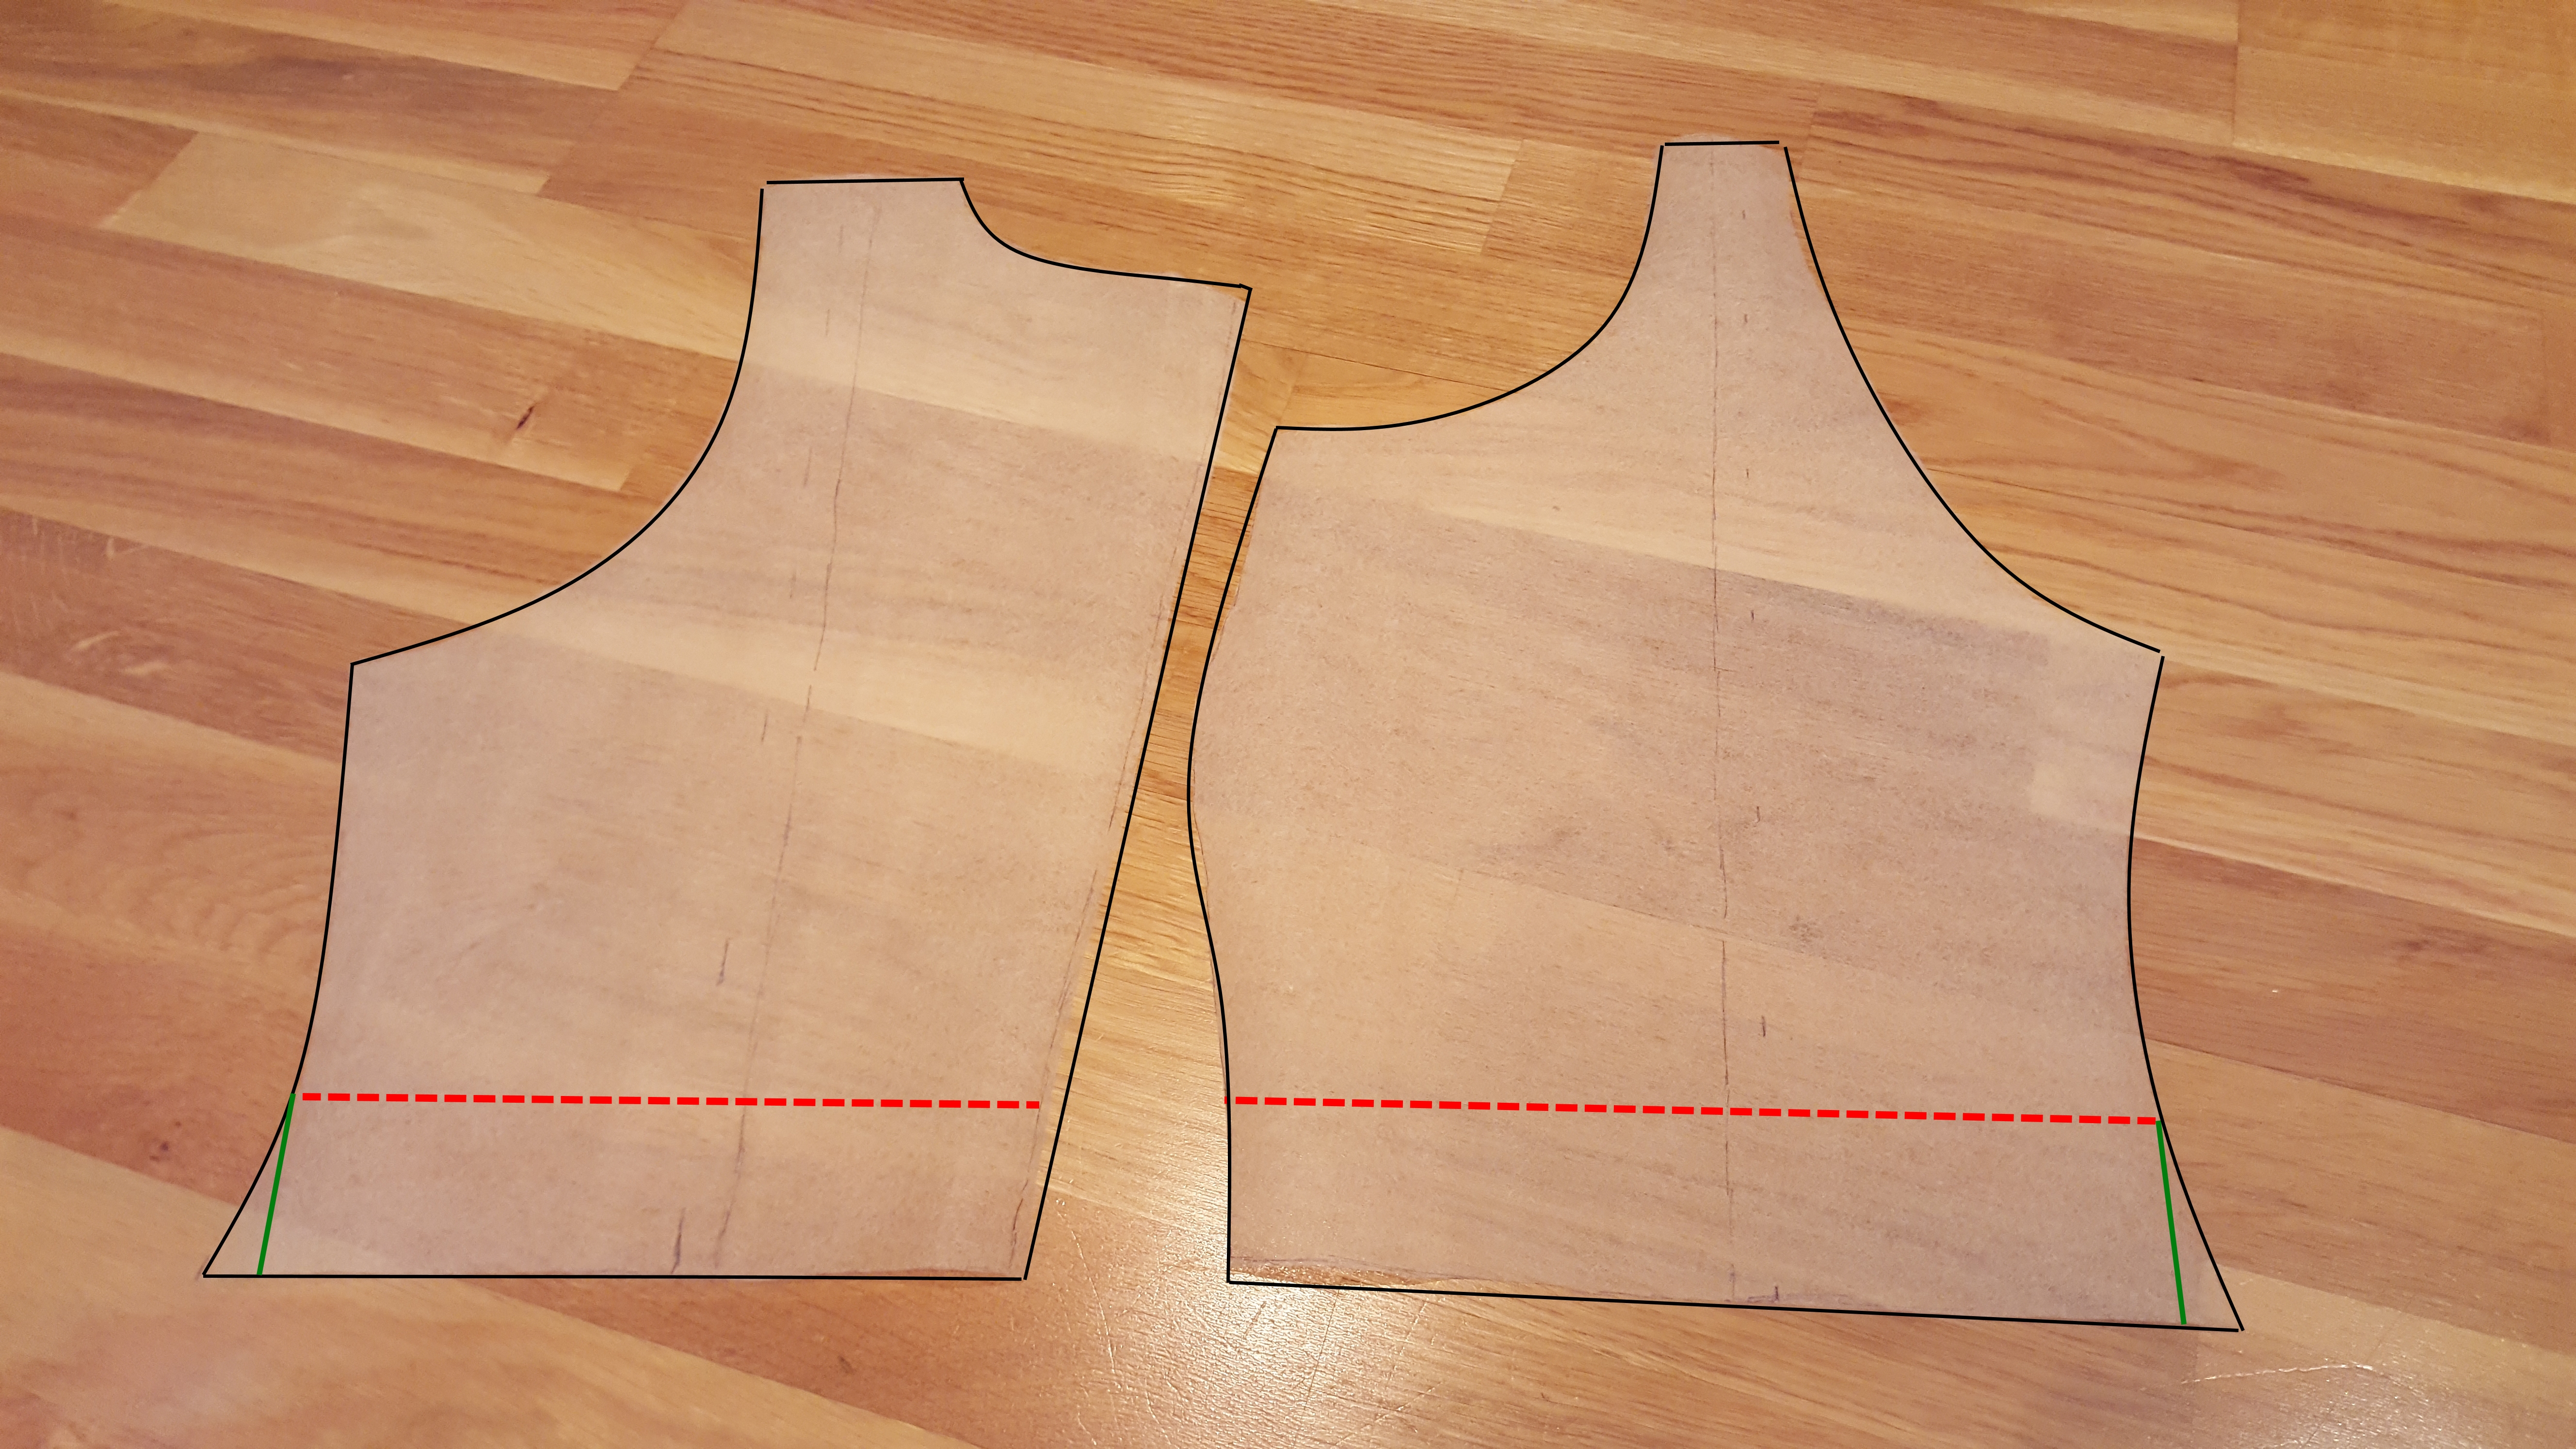
Here are the new patternpieces, I have outlined the edges so you can see them more clearly. It is a bad camera angle that makes the pattern look a bit askew, but they are straight, I guarantee that 😉
As I wrote in the beginning, you trace the panel down to the waist wich usually is where the point of the gusset is.
But now I can see that it is a very clear waist a couple cm above that. (The dotted red line) So I decided to cut the pattern straight from there (cutting at the green line) and put the gussets on the new dress from the ”real waist”.
* * * * *
Här är de nya mönsterdelarna, för att göra det enklare att se så har jag ritat ut kanterna åt er, och nej delarna är inte sneda, det är en dålig kameravinkel.
Som jag skrev tidigare så räcker det att göra mönstret ner till midjan och den brukar vara där spetsen på kilen slutar. Men efter att ha ritat ut och klippt ut delarna så såg det ut att vara en tydlig midja några cm ovanför kilspetsarna. Så jag bestämde mig för att sätta kilarna högre på den nya klänningen och därför räta ut mönsterdelarna enligt de gröna linjerna.
So… now it is time to cut the fabric and sew the pieces together.
Since this is a more elaborate dress than I usually want to display here, I will just show you the result later on 🙂
* * * * * *
Nu är det bara att klippa till och sy.
Men eftersom det här är en lite mer avancerad modell än jag brukar vilja visa här på sidan så kommer jag bara visa själva resultatet längre fram 🙂
Right here is the perfect website for anybody who wants
to understand this topic. You know so much its
almost hard to argue with you (not that I personally would want to…HaHa).
You certainly put a brand new spin on a topic which has been discussed for ages.
Wonderful stuff, just great!
Do you mind if I quote a couple of your articles as long as
I provide credit and sources back to your website? My website is in the exact same
area of interest as yours and my visitors would certainly benefit from
a lot of the information you present here. Please let me
know if this alright with you. Many thanks!
I think what you said made a lot of sense. However, what about this?
suppose you added a little information? I am not saying your information isn’t good, but suppose you added something to
maybe get people’s attention? I mean Those bloody calories / Dom jädrans kalorierna – Simply
Medieval is kinda plain. You should peek at Yahoo’s home page and watch how they create post titles to get viewers interested.
You might add a related video or a related picture or two to get people excited about everything’ve
got to say. In my opinion, it could make your blog a little bit more interesting.
I couldn’t resist commenting. Perfectly written!
Howdy! I know this is somewhat off-topic however I needed to ask.
Does operating a well-established blog like yours
take a lot of work? I am completely new to running a blog however I do write in my
diary daily. I’d like to start a blog so I can easily share my own experience and feelings online.
Please let me know if you have any kind of suggestions or tips for brand new aspiring blog owners.
Thankyou!