

It is sooooo complicated to do a S-sleeve!
I have heard that several times. And well… It is easier to do a t-shirt kind of sleeve, just straight edges and then a small gusset (or dart) in the armpit.
That is why I do recommend that for beginners.
But then we have the ones that can draft a modern sleeve in their sleep, but can’t get their head around doing an S-sleeve.
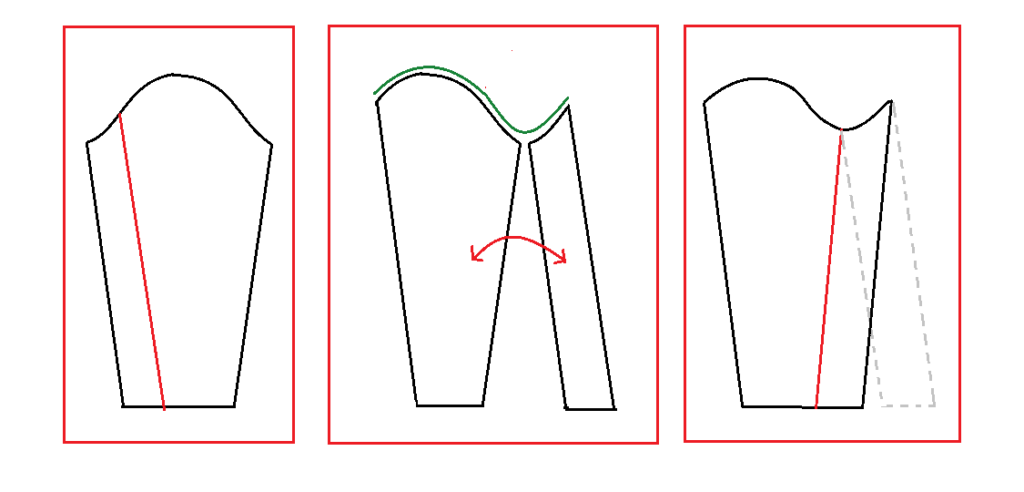
How will you get around that problem? Well, you can start by taking a modern sleeve pattern, taping the edges together and then cutting it where you want the seam.
But then you are left with a modern problem. The modern armhole where the seam for the sleeve is out on your shoulder and not inside of the shoulder joint. And it is also much bigger of a hole then the medieval one.
* * * * * * * * * * * * * * * * * * * * * * * * * * * * * * *
Det är sååååå svårt att göra en S-ärm!
Det har jag hört många många gånger. Och ja, det enklaste är ju en vanlig t-shirtärm, bara raka kanter och sen en liten kil (ärmspjäll) i armhålan.
Men sen har vi ju de som kan rita upp ett modernt ärmmönster i sömnen. Men som inte kan förstå principen med en S-ärm.
Hur kommer man runt det problemet? Tja, man kan ju börja med att ta ett vanligt modernt ärmmönster, tejpa ihop kanterna och klippa upp där man vill ha sömmen.
Men, då sitter du fortfarande med lite moderna problem. Ett modernt ärmhål har ärmsömmen ute på kanten av axeln och inte innanför axelleden. Och du har också ett mycket större ärmhål än vad som var vanligt på medeltiden.
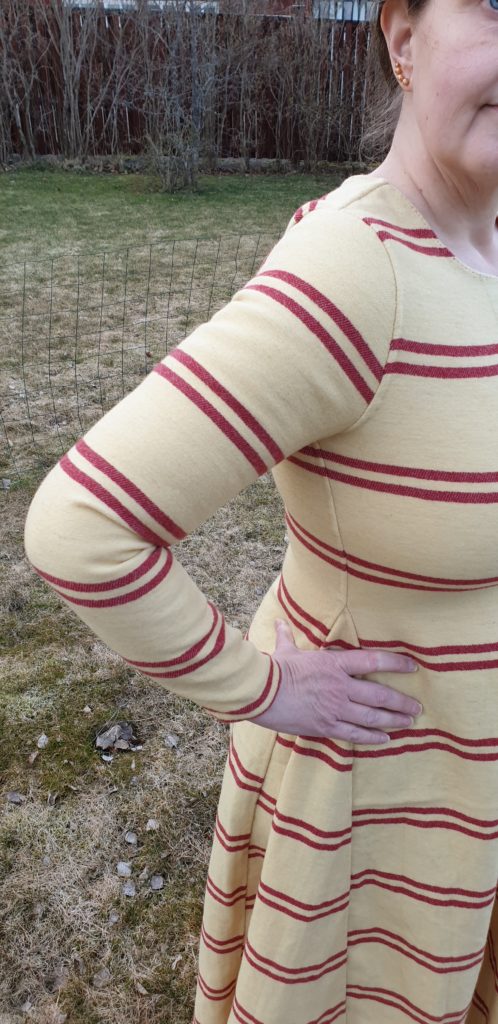
Start with creating the bodice of your garment. Keep the armhole tight around the arm all the way up in your armpit, but you should be able to rotate your arm without it moving the fabric around it (so the shoulder seam should stop right before your shoulder joint).
I don’t have any pictures of this but it is well described at cottesimple.com in: A curved front seam.
Börja med att få till den övre delen av din kjortel och håll ärmhålet tight runt armen.
Du ska ha tyg ända upp till armhålan, men inte ut på axelleden utan du vill att sömmen där ärmen sitter fast ska hamna på insidan av axelleden. Om du roterar armen så ska du liksom inte hindras av tyget någonstans runt axeln.
Jag har tyvärr ingen bild på detta, men det finns bra beskrivet på cottesimple.com under A curved front seam.
* * * * * * * * * * * * * * * * * * * * * * * * * * * * * * *
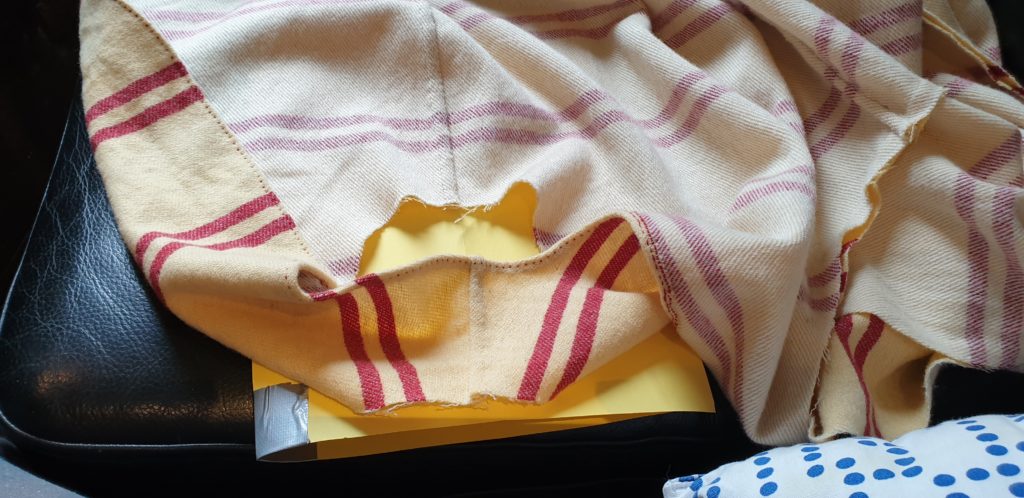
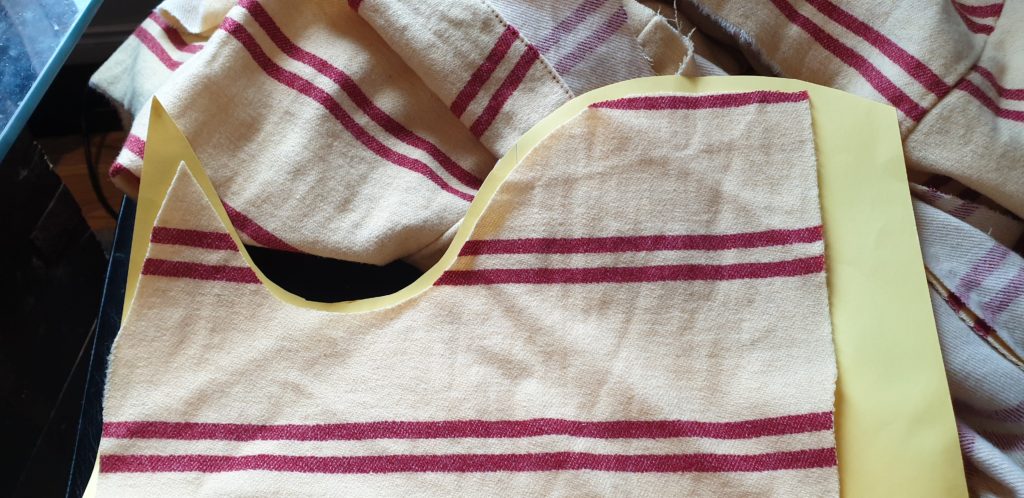
After fitting the bodice, I take 2 pieces of A4 paper and taping them together, long edges together (or you can us an A3, but almost everyone have some form of A4 at home).
Fold the edges in towards the taped middle just to create guidelines. Open it and fold down the center taped line.
Put the paper on a flat surface and take your bodice and put the armhole part with the side seam on the guideline and draw exactly how the curve looks, for about 5 cm on both sides of the middle fold.
När du har passat in och sytt överdelen på kjorteln så tar du 2 A4-papper och tejpar ihop dom, långa sidor mot varandra. (Eller så tar du ett A3, men A4 brukar alla ha hemma).
Vik in kanterna mot mitten/tejpade delen för att skapa guidelinjer. Vik upp och vik sen mitt på, vid tejpen alltså.
Lägg pappret på en plan yta och ta din överdel och placera sidosömmen på papprets guidelinje. Släta ut tyget och rita ut kurvan av ärmhålet 5 cm på varje sida av mittlinjen
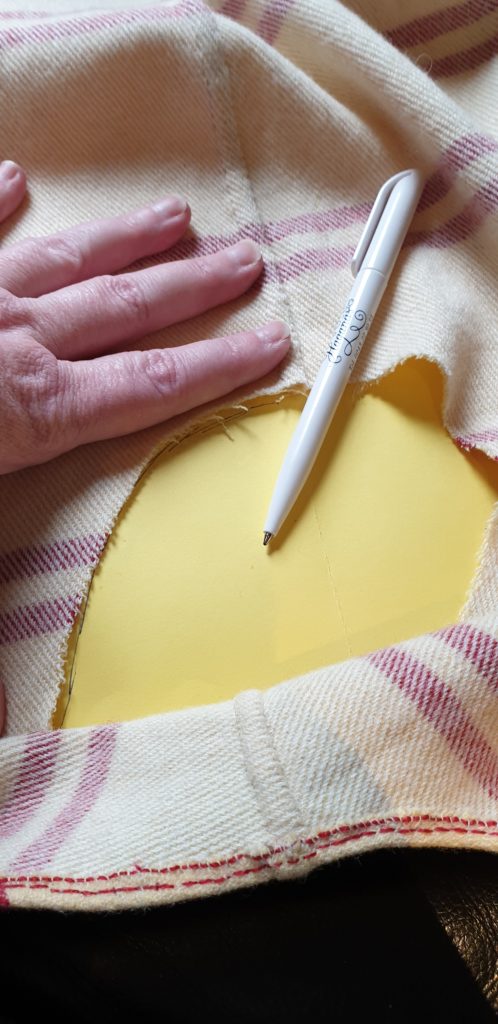
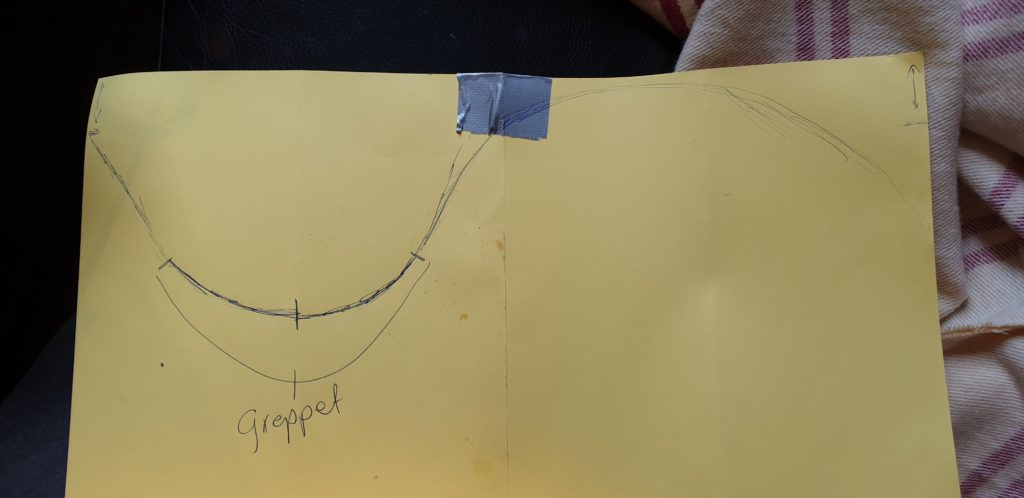
Now you can either draw a curve on freehand or take your bodice and use the shoulder part to use as a guide for the upper curve.
The total length of the S-shape should be as many cm/inches as your armhole is around if you measure it on the seam-line (not where it is cut because it will be shorter if you measure at the edge then it will be if you measure where you will stitch).
I have made a note on the picture ”greppet” (swedish), it is the part that is exactly how the armhole looks on the bodice.
* * * * * * * * * * * * * * * * * * * * * * * * * * * * * * *
Nu kan du antingen rita ut den övre kurvan på frihand eller använda axel-delen på din kjortel som mall.
Totala längden på S-kurvan ska vara lika lång som omkretsen på ditt armhål vid sy-linjen. Inte där du har den råa kanten. Så om du har 1 cm sömsmån så mäter du alltså 1 cm från kanten och runt.
Delen där det står ”greppet” är den del som är exakt likadan som delen i armhålan på ditt plagg.
I then can cut the sleeve part after this curve. The width of my upper arm is the width of the fabric + seam allowence and usually some extra width for movement, but I am getting thinner so I made this skin tight just so it can fit even when I have lost a bit more weight. So this curve is longer then my fabric is wide and therefore I added a gore to.
* * * * * * * * * * * * * * * * * * * * * * * * * * * * * * *
Sen klipper jag ut ärmen efter kurvan jag precis skapat. Normalt sett ska tyget vara ärmens omkrets + sömsmån + några cm rörelsevidd. Men jag gör hela denna kjortel snortight eftersom jag håller på att minska i vikt och inte vill att den är för stor redan efter en månad eller två. Längden på kurvan är därför bredare än ärmen och för att lösa det så lägger jag till en kil.

If you don’t want to use your bodice as a guide, you can use this theoretical constructionmethod instead.
Since the text is in Swedish – I will translate it for you:
S-curves total length (not the straight lines) should be the same length as the armholes circumference and a couple of cm for movement. (But don’t forget to add seam allowance).
You can gather the extra width on the upper part of the sleeve.
The green marking is the part that should have the exact same shape as the bottom of your armhole (about 10 cm in total).
The top line is the measurement between shoulder and wrist.
The middle line is just inbetween the top and the bottom of the curve.
And the bottom line is the length from the armpit to the wrist.
Add a gore (black part) if needed to get the right lenght of the curve without having it to be too steep.
* * * * * * * * * * * * * * * * * * * * * * * * * * * * * * *
Om du nu inte vill använda kjorteln som guide så kan du använda den här teoretiska metoden istället.

This is how the steepnes of the curve effects the movement of the arm.
(Translation)
Square = optimal movement, not so great fit.
Steap = bad movement, great fit.
In between (about 45 degrees angle) Ok fit, OK movement.
Last picture shows how high you can lift your arm before the garment starts to move with different steapnes of the sleeve.
* * * * * * * * * * * * * * * * * * * * * * * * * * * * * * *
Det här är en bild över hur S-kurvans branthet påverkar rörelsen.

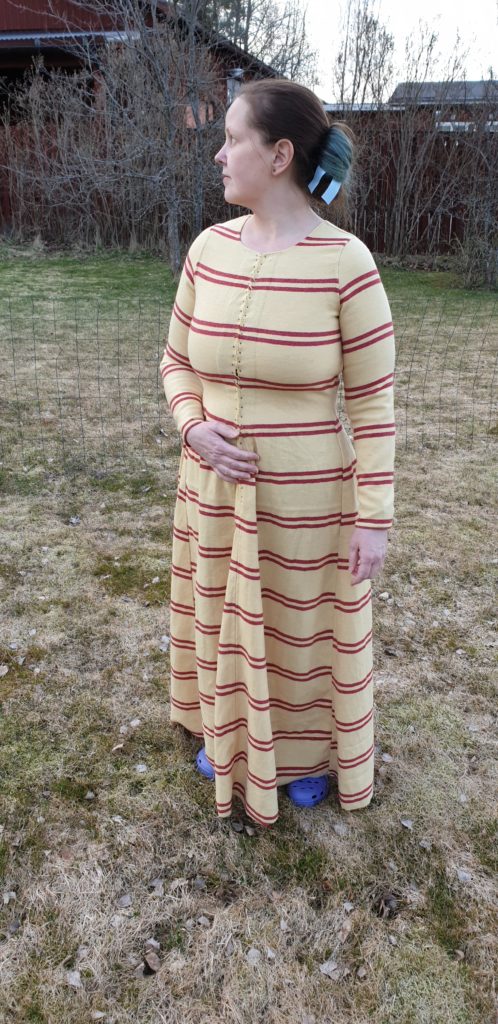
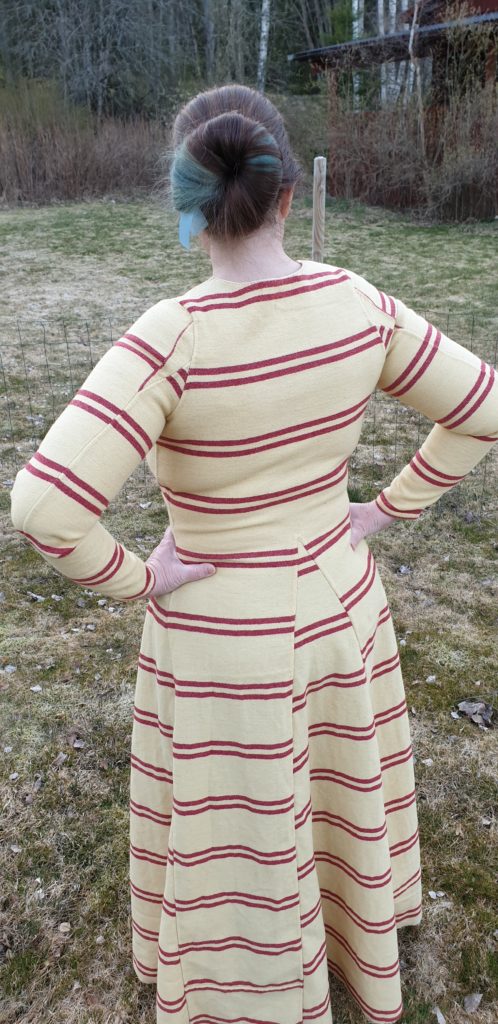
And here is the final result
You have to forgive my moderh hair and shoes though 😉
* * * * * * * * * * * * * * * * * * * * * * * * * * * * * * *
Och slutresultatet…
Ni får ursäkta modernt hår och skor dock 😉
Informative.
I will be looking for more of your work.
Exceedingly interesting.
Hi there! I just want to give you a big thumbs up for your great info you have here on this post. I will be returning to your blog for more soon. Sophie Jordon Strickler